Cranberry Green Tea

Here's the second of my candidates for a new workday green tea.

Brewing

"We suggest brewing this tea for a maximum of 2 minutes, any longer and you'll lose the delicate taste. Allow one bag per person and add freshly boiled water."

Same as last time - a nice quick brew for a delicate tasting tea.

Colour

Very pale brown with a reddish tinge.

Aroma

Unlike last time you can clearly smell the cranberry and the general tea aroma is less pronounced.

Taste

At first the tea tastes like a herbal tea with a weak cranberry flavour - very refreshing. The after taste is stronger than last time and tastes more like your usual green tea.

BC-ISMRM

I've been drinking this tea while going over my slides for a presentation at the British Chapter of the International Society for Magnetic Resonance in Medicine. Getting nervous now as this is my first presentation at a conference.

Conclusion

A refreshing workday green tea with a subtle cranberry flavour - lovely.

Verdict

Which is better? There's only one way to find out - DRINK!

I think the Mango and Lychee tea is the more interesting but the Cranberry tea is more suitable for day-to-day drinking. For now I think that will become my workday green tea :)

Web-link

http://www.twinings.co.uk/green-teas/cranberry-green-tea

Tom out!

P.S.

BC-ISMRM

Android on an old Dell

Android x86

So my old Dell Inspiron 1525 has had many problems. Not least of which is a hardware fault preventing the battery from charging most of the time :S However it is a very useful tool for testing distros on and generally tinkering.Following a chat with my housemate about his netbook I decided to see if it was possible to install Android on a laptop. Turns out the answer is yes courtesy of the Android-x86 Project: http://www.android-x86.org/

It's working well though I'm currently struggling to transfer pdfs and such across and certain apps (like Angry Birds) keep failing. You need a basic knowledge of linux commands to mount USBs and the like but other than that it is effectively a non-touch screen version of the OS :)

Tom Out!

Cool Physics #1

In which I describe some cool physics!

So I thought I would start to impart any cool science/physics I've come across throughout my degree and continuing research. This post is going out while I'm at a conference - so this week have some beer!

Beer Bottle Fizz

Beer Fizz

When I came back from my first year at Uni a friend of mine asked me what Physics I had learnt that year. Casually I lifted by beer bottle and tapped hers on the top causing her beer to froth and foam over the top and down the side. She dived forward to stop any spillage (which as we all know is lick-age). Practically anyone who has been to a party involving alcohol has seen this trick - but how does it work?

Well why does the bottle fizz in the first place when you open it? Gas (C02) is stored in the liquid in equilibrium. When you open the bottle a new equilibrium needs to be established and so gas leaves the liquid and causes bubbles. When you hit the bottle you release a lot more gas compared to opening the bottle causing the bottle to fizz all over your hand/the table/a nearby cat. You can also obtain the same effect from slamming a bottle onto a table.

Smashing the Bottom of a Beer Bottle

Watch this video:

So how does that work?

Cavitation is mentioned but you've probably never heard of it. What happens is a vacuum is formed and then collapses very quickly. The force of the water crashing down through the vacuum is easily enough to break glass. In fact cavitation can be very damaging in things such as turbines:

Cavitation turbine damage

Cavitation turbine damage

The collapse of these 'bubbles' causes heating and shockwaves and causes lots of problems in devices such as turbines.

Tom Out!

P.S. http://en.wikipedia.org/wiki/Cavitation

P.P.S. http://what-if.xkcd.com/6/

Project Thor: Very Demotivational

In which I discuss how easy it is to fake weight loss.

Motivation

As part of Project Thor I'm hoping to get some pretty good before and after photos. Obviously this required me to take some before photos and then they've sat on my camera for a few weeks :S

Now taking photos of yourself before losing weight is quite demoralising (or even demotivating depending on your personality) and that's all the excuse I need for a title for this blog-post!

For the purposes of full disclosure I thought I'd take photos of me standing straight and hunched and the difference is very dramatic. These photos taken seconds apart show a completely different physique. This reminded me of a post I saw weeks back about how easy it is to fake those 'dramatic weight loss' pictures you see on website advertising. Apparently their method involved:

  • Taking the 'after' shot first

  • Eating a lot of foods which make you bloated

  • Waiting 30 minutes

  • Taking the 'before' shot

Once again don't trust everything you see on the internet (though I expect you knew that already). Enjoy a little demotivational featuring yours truly:

Weight Loss

Weight Loss

In other news I now own a large block of polystyrene and some wood. Once the leather turns up I can start to craft the mighty Mjolnir! Expect pics and a how-to in the following fortnight!

Tom Out!

P.S. http://memebase.cheezburger.com/verydemotivational

Starting 3rd Year/So You Want To Do A PhD?

How to Get a PhD

So I thought as my third year looms it might be worth reviewing my PhD experience and giving new or potential PhD students my thoughts.

2 Years In

So how do I feel now that I'm successfully onto the 3rd year of my programme?

In general, I am enjoying my PhD and I am very grateful for the opportunity I have been given. There are of course downsides but the majority are minor or would be the case in any job (such as delays beyond your control etc.). I am really looking forward to my upcoming industrial placement as it will be a nice change of pace and will (fingers crossed) lead to a publication.

As far as progress goes I could be a little further ahead but with the potential for publications this year and my first oral presentation at BC-ISMRM next week I'm very excited for my third year. There's always a bit of worry from being half-way through something but I'm coping well at the moment.

So You Want To Do A PhD?

There are already books[1] on getting a PhD but I think I'll summarise the general points below.

Why should you do one?

  • You want to get into academia/research - it's still the standard route.

  • You're really interested in a specific research area - if you enjoy it, do it!

  • You need a higher level qualification for your ideal job - though you still need to be interested!

Why shouldn't you do one?

  • Just for the title

  • Because you're afraid of getting a real job

  • You want to stay a student forever

So if you've decided you want to do a PhD there's still a lot of choice for doctoral courses, which one should you pick?

PhD Types

  • Traditional PhD/DPhil - Normally 3 years funded* (in the UK) and takes around 3.5 years, the traditional model with topic usually being set at the beginning by your supervisors. Funding from the research councils is currently £13,590 (tax free).†

  • EngD etc. - 4 years including taught elements and industrial placements.

  • DTC based PhD - usually 4 years with taught elements. Often you don't pick a research topic straight away choosing it between 3-12 months in.

  • Industrial CASE PhD - usually 4 years funded with a 3-6 month industrial placement. These include an increase to the normal PhD stipend of up to ~£7,000

I'm on an Industrial CASE PhD so there's the possibility I'm slightly wrong about the differences between the others.

Once you've decided your research field/topic, the type of PhD you want to do and double checked that your really want to do one - start applying!

Most PhD positions are advertised from January onwards with interviews around February. If there is funding though PhD positions need to be filled and there will be positions advertised all year. Summer tends to have a large number of PhD places which weren't filled early in the year on offer.§

So You're In For The Long Haul?

What can you expect from your time doing a PhD then?

1st Year

Regardless of your programme you are going to have to review the literature. This normally takes around 3 months and is sometimes publishable as a paper if your field is in an interesting niche.

You will learn how to use the lab equipment/computers/databases/blackboards you need for your continued research.

You will probably narrow down the topic area and methods to be used in future years.

You may get trained on something really specific (I was flown out to Bruker in Germany to learn how to program MRI scanners).

You will have some sort of report to get through to the next year. I had to have a full-on viva but other departments have a simple meeting with supervisors to see if you should continue.

2nd Year

This is usually your method development year. For CASE students you may go on your first placement.

If method development is quick you can start collecting useful data.

3rd Year

This is your data collection year. People on a '3 year' programme will need all their data pretty much by the end of this year.

4th Year

On a 3 year programme you will be writing the thesis until your agree viva date. On a 4 year programme you will finish data collection then write the thesis.

VIVA

Graduate! :D

* This is for Sciences PhDs - it is a lot harder to get funding in the Humanities.

†Funding bodies will also pay your tuition fees.‡

‡I believe Wellcome Trust provide the best at the moment with total stipend of around £21,000

§You can see available positions on respective universities' websites and at http://www.findaphd.com

You will write a fair amount of certain thesis sections ahead of this time. Some people write up throughout and continue collecting data well into the traditional data collection phase.

Tom out!

[1] Phillips, E.M. and Pugh, D.S., 2000. How to Get a PhD: A Handbook for Students and Their Supervisors. 3rd ed. Maidenhead: Open University Press.

Mango and Lychee Green Tea

I ran out of green tea so this review and the next review my attempt to find a new workday green tea :).

Brewing

"We suggest brewing this tea for a maximum of 2 minutes, any longer and you'll lose the delicate taste. Allow one bag per person and add freshly boiled water.

"

A change to my usual long brewing habits. However I did over brew the first cup and I don't think it ruined the tea at all - it just made it taste more of green tea than mango.

Colour

Very pale brown.

Aroma

I'm not sure if I would pick out the smell as mango or lychee (I don't believe I have ever sniffed a lychee) but there is definitely a pleasing fruity aroma.

Taste

At first the tea tastes like a herbal tea with a strong mango flavour (probably lychee too but it's clearly a complimentary flavour as I don't know what it tastes like and it isn't very obvious). The after taste is a weak tea flavour which is equally enjoyable.

Lasagna Lunch

I've been drinking this tea while enjoying a home-made lasagna for lunch. Back to work soon though!

Conclusion

A very refreshing tea which, as it's green, doesn't require milk. A fruity, soothing change to my workday tea schedule :D

Web-link

http://www.twinings.co.uk/green-teas/mango-lychee-green

Tom out!

Project Thor: The Slow-Carb Diet

Slow Carb

So here is the diet plan for Project Thor which is based upon the slow-carb diet from Tim Ferriss' book (see previous post).

Luckily most of this is available online for free so I can post the rules this time :)

Slow Carb

Rules:

  1. Avoid 'white' carbohydrates - any carb that is white or can be white (e.g. brown rice is still bad)

  2. Eat the same few meals over and over again mixing at least one item form the three groups: protein, legumes, vegetables.

  3. Don't drink calories

  4. Take one day off a week

There are some other additions to these rules covered in the book and online (see links below).

My Changes

One of the additional rules in the book is allowing you to eat carbs within two hours of  exercise so I've been using that rule when going to the gym. I'm also taking the 'cheat day' and spreading it out across the week as this helps my lack of self control :)

Links!

Tim Ferriss' blog post on the Slow-Carb diet: http://www.fourhourworkweek.com/blog/2007/04/06/how-to-lose-20-lbs-of-fat-in-30-days-without-doing-any-exercise/

Diet reference (tells you whether a food is allowed): http://www.eslowcarbdiet.com/

Tom out!

Spiced Chai

Whittard's Spiced Chai Tea

This is the return of my tea blogs on a bi-weekly basis. If you have any tea suggestions please post them in the comments. If I know you IRL feel free to share a cup with me and I'll happily review it :D

This is the last of the teas from my visit to the Whittard's outlet store - I'll have to go again after this :).

Brewing

"Brew using 2 or 3 teabags in a 6-cup teapot

. Warm the pot first with a splash of hot water. Add the tea and pour on boiling water. Brew for 4-5 minutes. Alternatively, brew one teabag in a mug and remove when the tea is the strength you require"

As usual I brewed it for 5 minutes. Apparently you can add condensed milk to have a sweet version of tea but unsurprisingly I don't have any at work.

Colour

Dark brown.

Aroma

You can definitely smell the cinnamon and cloves. Surprisingly it smells less Christmassy than I thought it would. It smells very nice though :)

Taste

A cavalcade of spices! But the cloves and cardamon are the strongest flavours. Despite the strength of these flavours you can still taste the black tea fairly strongly. A very enjoyable experience but I have had better chai. I think milk would likely improve it.

2nd Year Report

I've been drinking this tea while writing my 2nd Year Report. Hopefully as of Wednesday next week I'll be officially onto the 3rd year of my PhD Programme :)

Conclusion

A lovely tea but there is better chai out there. Probably would be improved by milk (condensed or otherwise).

Next Time

As I said tea reviews will be bi-weekly on Wednesdays now :) I'm thinking of coming up with some kind of rating system for the teas so people can compare my thoughts on tea.

Web-link

http://www.whittard.co.uk/tea/flavoured_black_tea/spiced_chai/spiced_chai_50_teabags.htm

Tom out!

Project Thor: On Measurement

Waists!

Firstly an announcment! Tea reviews will re-commence on Wednesday and run bi-weekly for the foreseeable future! Also if there's a tea you think I should try feel free to proffer it to me when I see you for my delectation and reviewing pleasure :)

So onto the post -

Measurement and tracking is very important when following an exercise program, mostly because it stops you from going insane. This is because it is very hard to see if you are losing weight* if you look in the mirror everyday whereas cold hard numbers don't lie to you**.

So below is my table of starting measurements before Project Thor so I can compare the results at the end.

Though in defiance of my earlier paragraph there is a number which lies to you - the waist measurement on your clothes. I've been defiantly wearing my 34" jeans since I managed to be too small for 38" and 36" jeans last year. Recently they have gotten tighter but still fit (sadly all the cake I've eaten this year was not a lie). Now hopefully you haven't scrolled down far enough to see the measurement table yet - do so now and see how inaccurate this flattering lie is!

Weight / kg Waist / in Hips / in L Bicep / in R Bicep / in L Thigh / in R Thigh / in Total Inches
89 40.5
39.5 12 12 21.5 22.5 148

Even if you ignore the half inch which would explain the slight tightness of my trousers that's still wrong by 6 inches! A 17% inaccuracy. Maybe if they gave clothing sizes accurately across the board it would help solve our obesity problem.

Finally, the total inches measurement allows you to see if there is an overall improvement even if, par exemple, your waist doesn't decrease one week. Huzzah for improvements!

*Well weight is affected by muscle mass and fat so it is possible to stay the same weight while looking more trim, but generally.

**The scientist inside me forces me to point out I mean mass which is referred to as weight; obviously going to the moon is great for any weight-loss program :P

Tom out!

P.S. This P.S. is a lie!

I have a GUI

So following my post earlier today I now have a working xorg.conf and KDE 4.8.3 is running smoothly. Turns out there is an easy to use utility called nvidia-xconfig which I had overlooked and did the job perfectly. Also importantly I now have Chromium (Chrome for Linux if you didn't know) installed :) Time to start tinkering!

KDE 4.8.3 – looking good

I've provided my xorg.conf here in-case it is useful to anyone. This works with a Nvidia GTS 450 linked by HDMI to a Panasonic 42" TX-P42U30B Plasma TV:

# nvidia-xconfig: X configuration file generated by nvidia-xconfig
# nvidia-xconfig: version 295.71 (buildmeister@swio-display-x86-rhel47-04.nvidia.com) Thu Aug 2 20:28:32 PDT 2012

Section "ServerLayout"
Identifier "Layout0"
Screen 0 "Screen0" 0 0
InputDevice "Mouse0" "CorePointer"
InputDevice "Keyboard0" "CoreKeyboard"
EndSection

Section "Module"
Load "glx"
EndSection

Section "InputDevice" 
# generated from data in "/etc/conf.d/gpm"
Identifier "Mouse0" Driver "mouse"
Option "Protocol"
Option "Device" "/dev/input/mice"
Option "Emulate3Buttons" "no"
Option "ZAxisMapping" "4 5" 
EndSection

Section "InputDevice"
Identifier "Keyboard0"
Driver "kbd"
EndSection

Section "Modes"
Identifier "Modes0"
ModeLine "1920x1080@60" 182.28 1920 1952 2640 2672 1080 1102 1113 1135
EndSection

Section "Monitor"
Identifier "Monitor0"
VendorName "Unkown"
ModelName "Unknown"
UseModes "Modes0"
HorizSync 28.0 - 33.0
VertRefresh 43.0 - 72.0
EndSection

Section "Device"
Identifier "GTS450"
Driver "nvidia"
VendorName "NVIDIA Corporation"
EndSection

Section "Screen"
Identifier "Screen0"
Device "GTS450"
Monitor "Monitor0"
DefaultDepth 24
Option "ConnectedMonitor" "DEP-0"
Option "DPMS" "false"
SubSection "Display"
Depth 24
EndSubSection
EndSection

Tom out!

Gentoo 64-bit

So guess what I was up to last night - yes that's right, installing Gentoo.

This was my first time installing Gentoo on 64-bit architecture - the important specs are below:

  • Intel Core i7 2600k Processor (Sandy Bridge - important later)

  • 8 GB DDR3 RAM

  • Asus P8Z68-V PRO/GEN3 Motherboard

  • 250 GB HDD (well 250 GB partition out of the 4 TB in my machine)

  • Nvidia GeForce GTS 450 GPU

  • Blu-Ray recorder drive

Also worth noting that this is a dual boot with Windows 7.

[WARNING - If you're not interested in Linux or computer geekery I expect you will find the rest of this post boring]

I followed the Gentoo documentation found here: http://www.gentoo.org/doc/en/handbook/ I will be noting any differences between that guide and my install here.

Choosing the Right Installation Medium

I downloaded the LiveCD and used that as my initial Linux environment for installing from.

Configuring your Network

All done through DHCP.

Preparing the Disks

I used the standard layout of boot, swap and root partitions but on /dev/sdb2 to /dev/sdb4 because of my dual booting. I set my swap partition to 20 GB following advice I found online. Then annoyingly the LiveCD made me reboot in order to write the changes. The I used the standard filesystems.

Installing the Gentoo Installation Files

The -march option in CFLAGS needs to be native or corei7-avx because of the Sandy Bridge architecture. I used MAKEOPTS="-j5" as it's a quad core processor.

Installing the Gentoo Base System

I selected the default amd64 profile. I set up my USE flags with KDE in mind so -gnome and -gtk were used. I also added the bluray flag.

Configuring the Kernel

I mostly followed the guide but later I had to come back and recompile without some Nvidia options: http://www.gentoo.org/doc/en/nvidia-guide.xml#doc_chap3

Configuring your System

I always set my hostname to be the name of a famous fictional computer - this time I went for Ozymandias (http://en.wikipedia.org/wiki/List_of_fictional_computers#1990s)

I set my locale to be en_GB.UTF-8.

Installing Necessary System Tools

I chose to get syslog-ng, vixie-cron, mlocate, dhcpcd and ppp.

Configuring the Bootloader

I used GRUB and followed the standard set-up except for a timeout of 10 seconds and replacing Windows XP with Windows 7. I also had to ensure to make the boot device hd1,1 and root=/dev/sdb4.

Finalizing your Gentoo Installation

I made my user with nearly all the groups (N.B. games doesn't work - is it depreciated?)

Where to go from here?

By the time I left for work this morning I had also emerged X-org and KDE 4.8.3 and had managed to get startx to not crash while going to a black screen. I'm going to have to work on my xorg.conf this evening and hopefully I'll get a working one running. This will be useful as Googling doesn't currently give a working one for my 42" TV and graphics card via HDMI. I hope people might find that useful :)

Tom out!

P.S. http://www.gentoo.org/

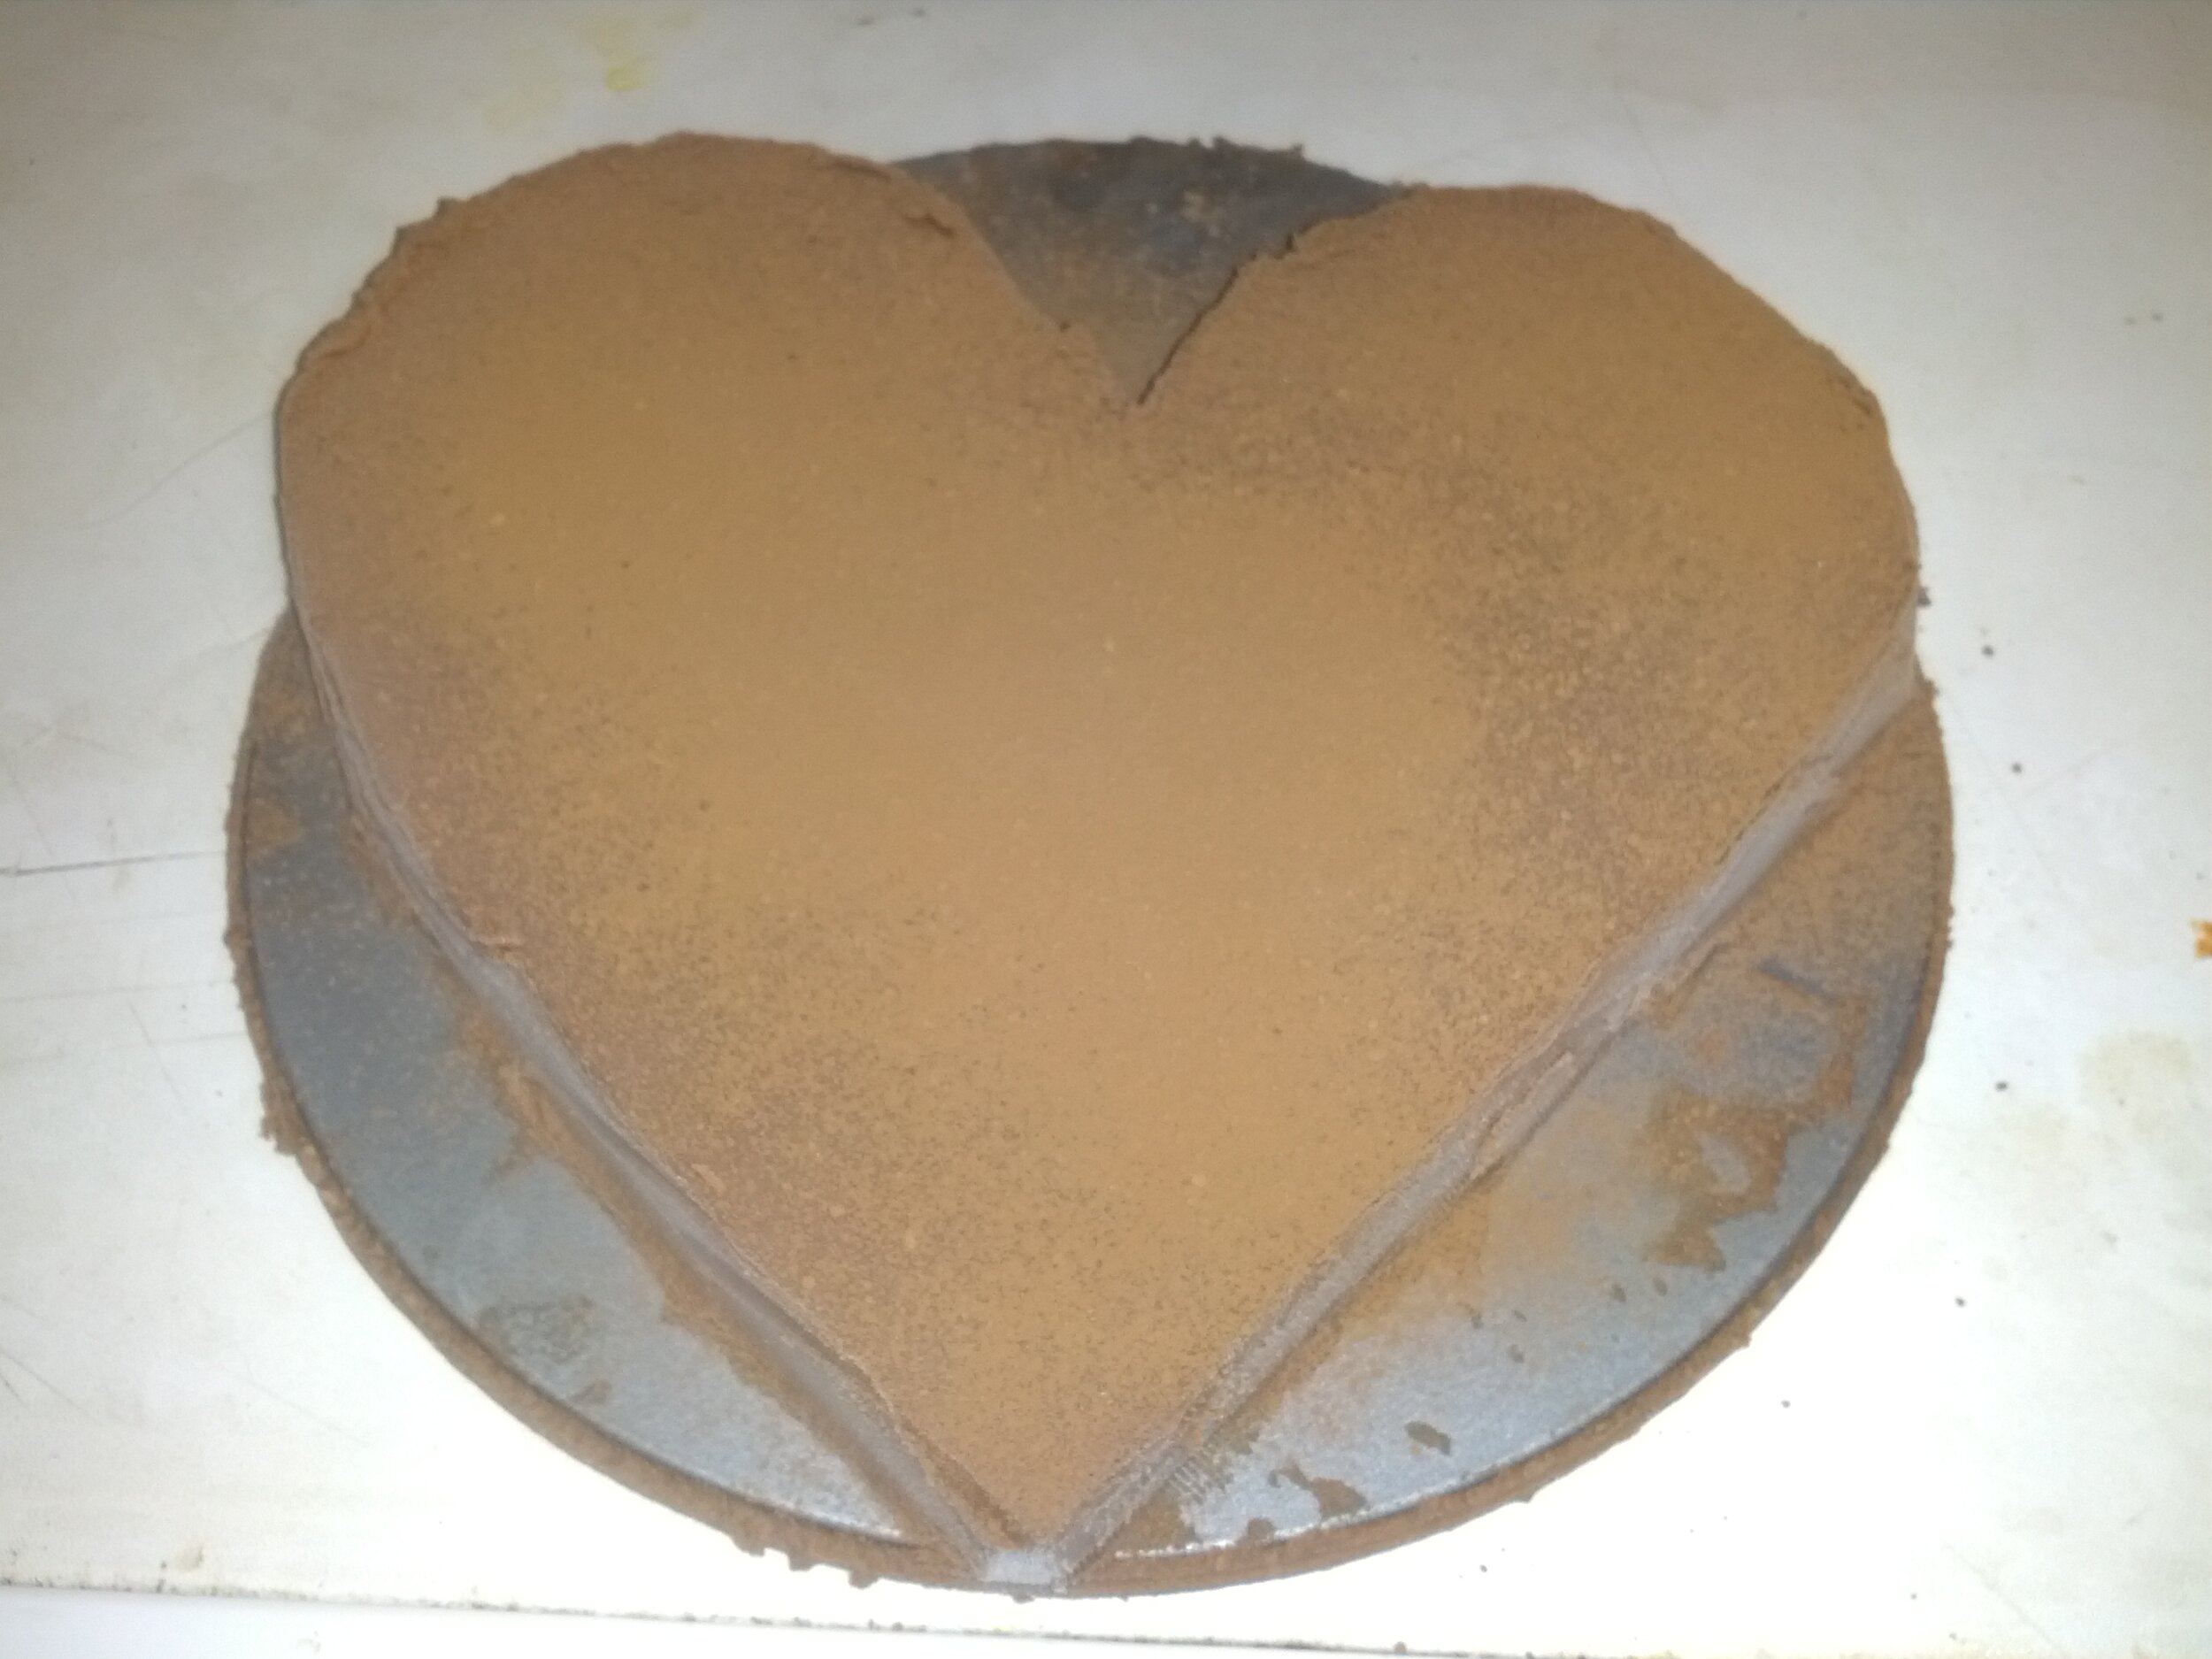
Decadent Chocolate Ginger Torte!

Happy Weekend! Here's a cake recipe!

This is my adaptation of a chocolate torte recipe to make it even yummier (just add ginger).*

Ingredients:

  • 250 g Dark chocolate

  • 2 tbsp golden syrup

  • 568 ml (pint) double cream

  • a handful of glacé ginger

  • as much ground cinnamon as you can handle :p

  • coca powder (for dusting)

How-to:

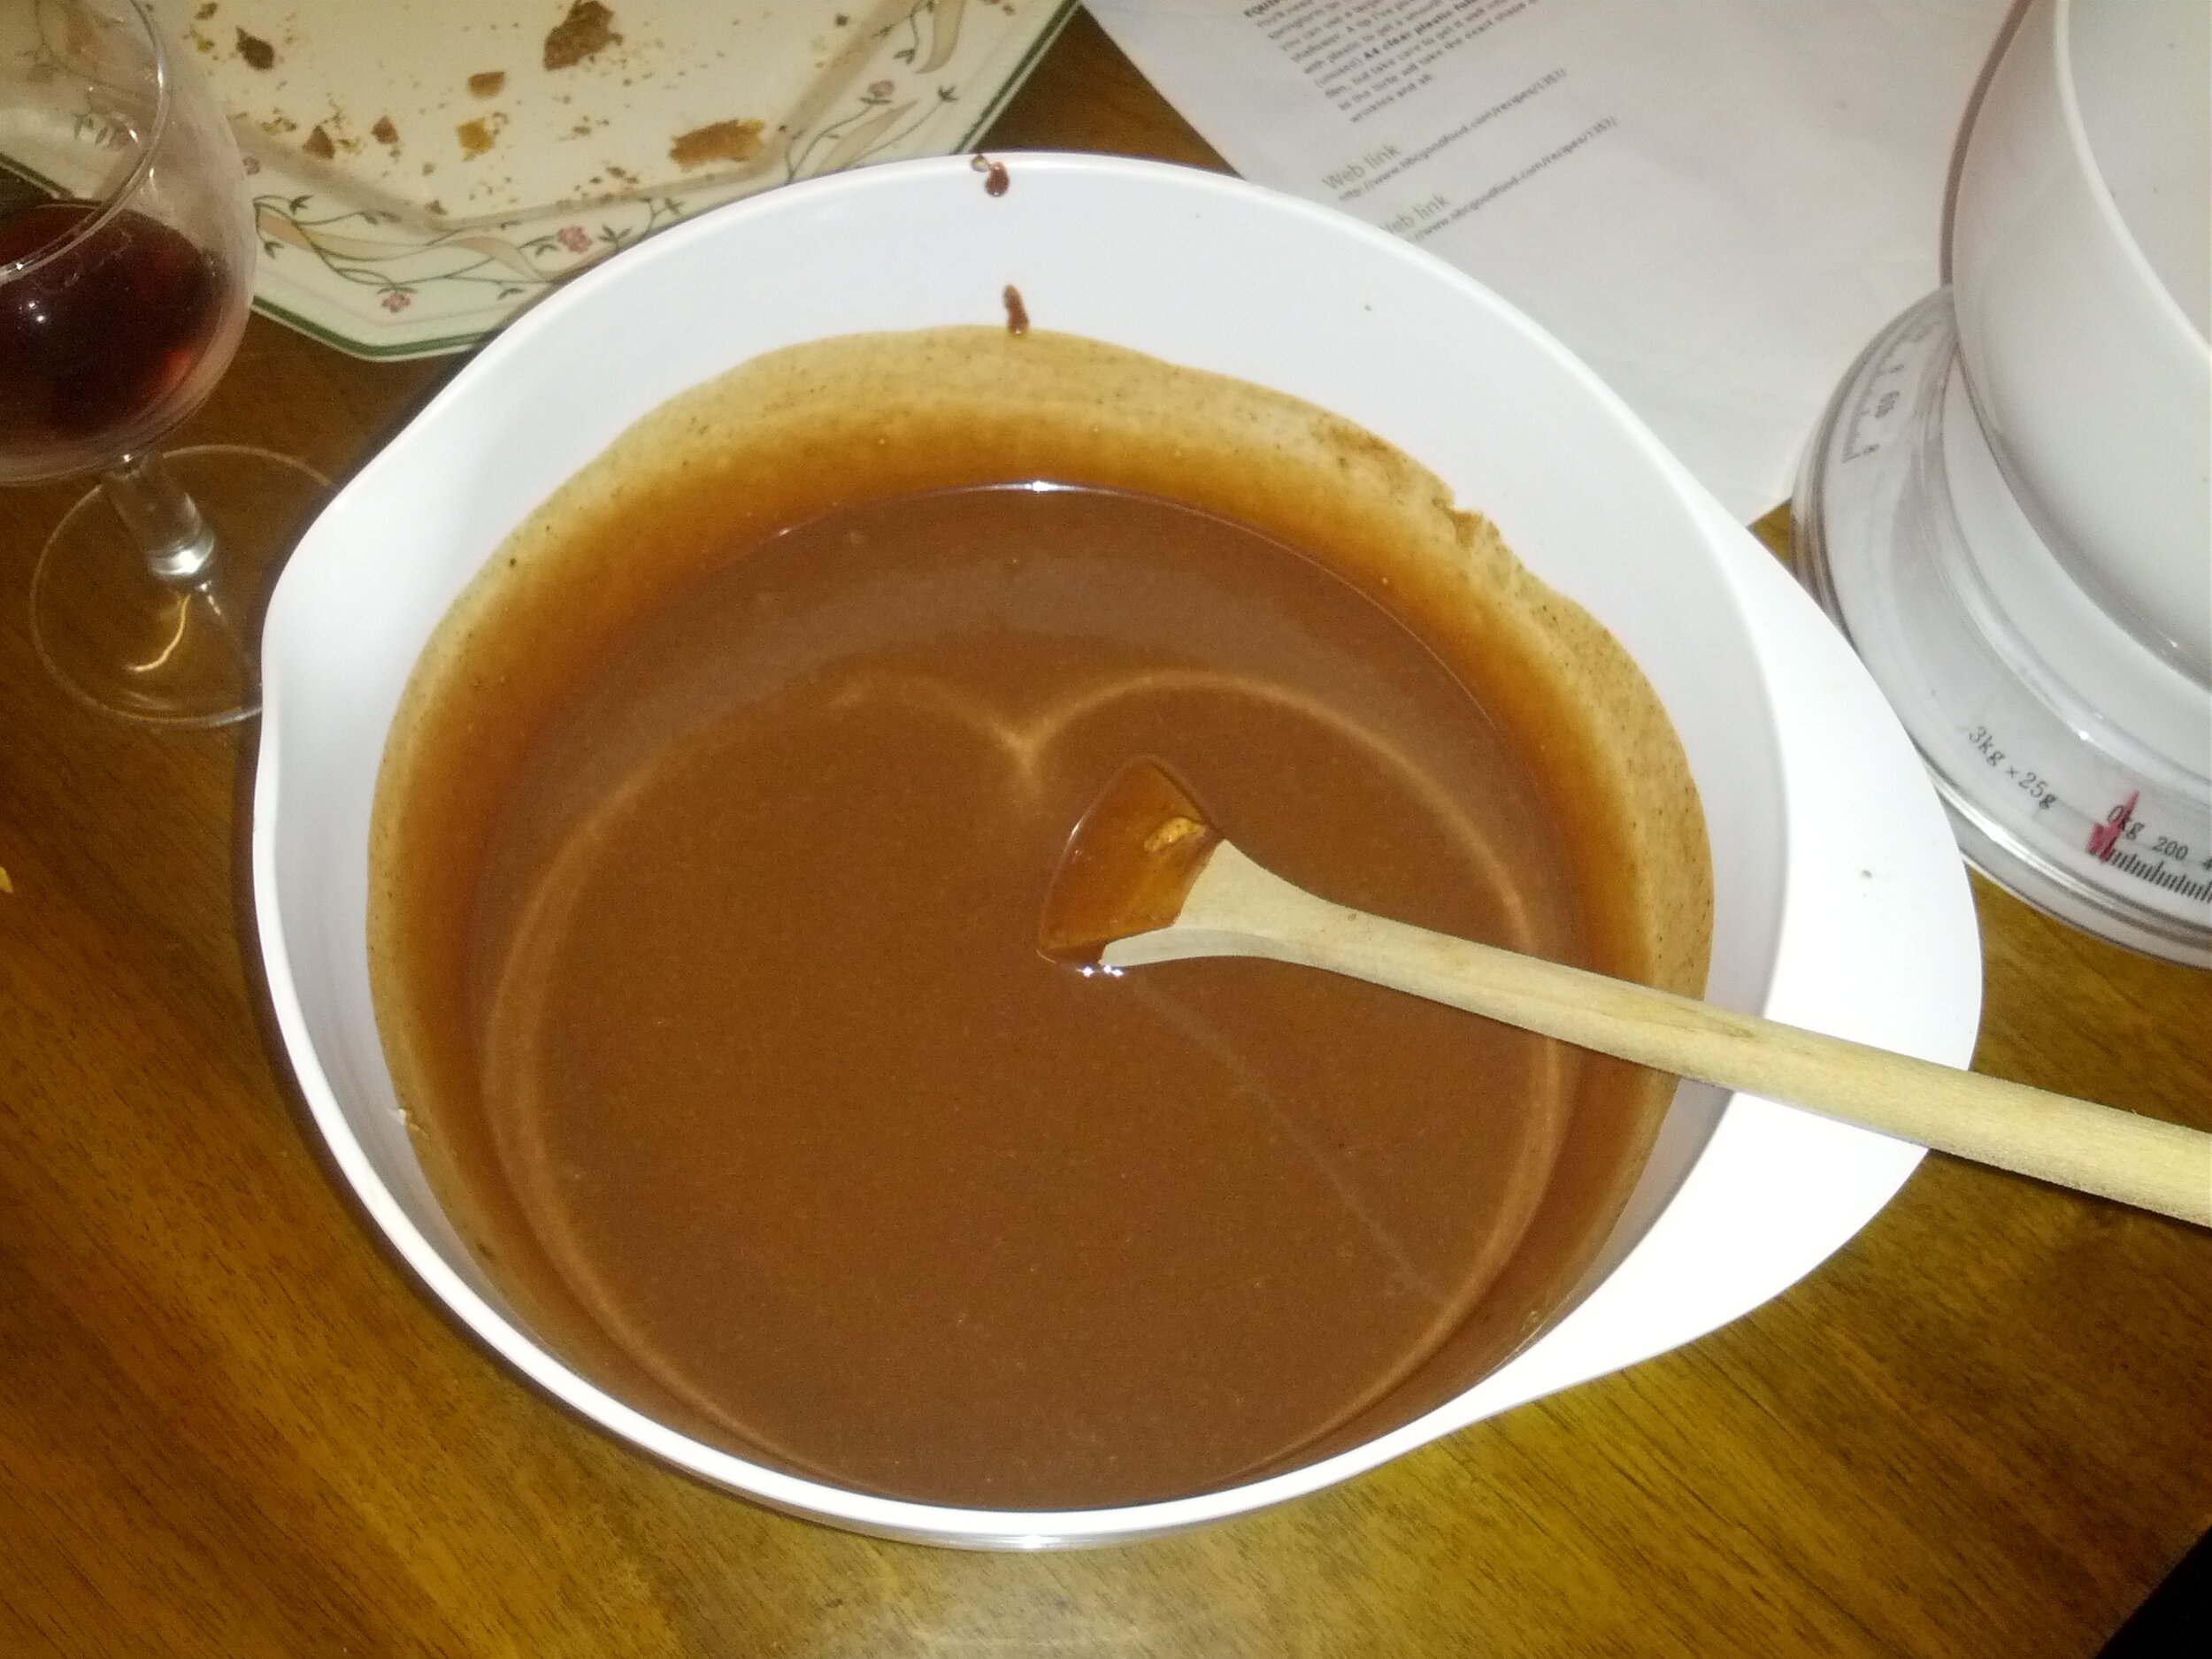
  1. Break the chocolate into a bain-marie along with the golden syrup and about a third of the cream.

  2. Heat over a low heat until melted (~15 mins).

  3. Wait for the chocolate to cool to 'just warm' (I forgot to do this so it didn't work out as well as hoped).

  4. While the chocolate cools put the remaining cream, the cinnamon and ginger in a bowl and whisk until the cream takes a few seconds to lose its shape.

  5. Fold the chocolate mixture into the cream.

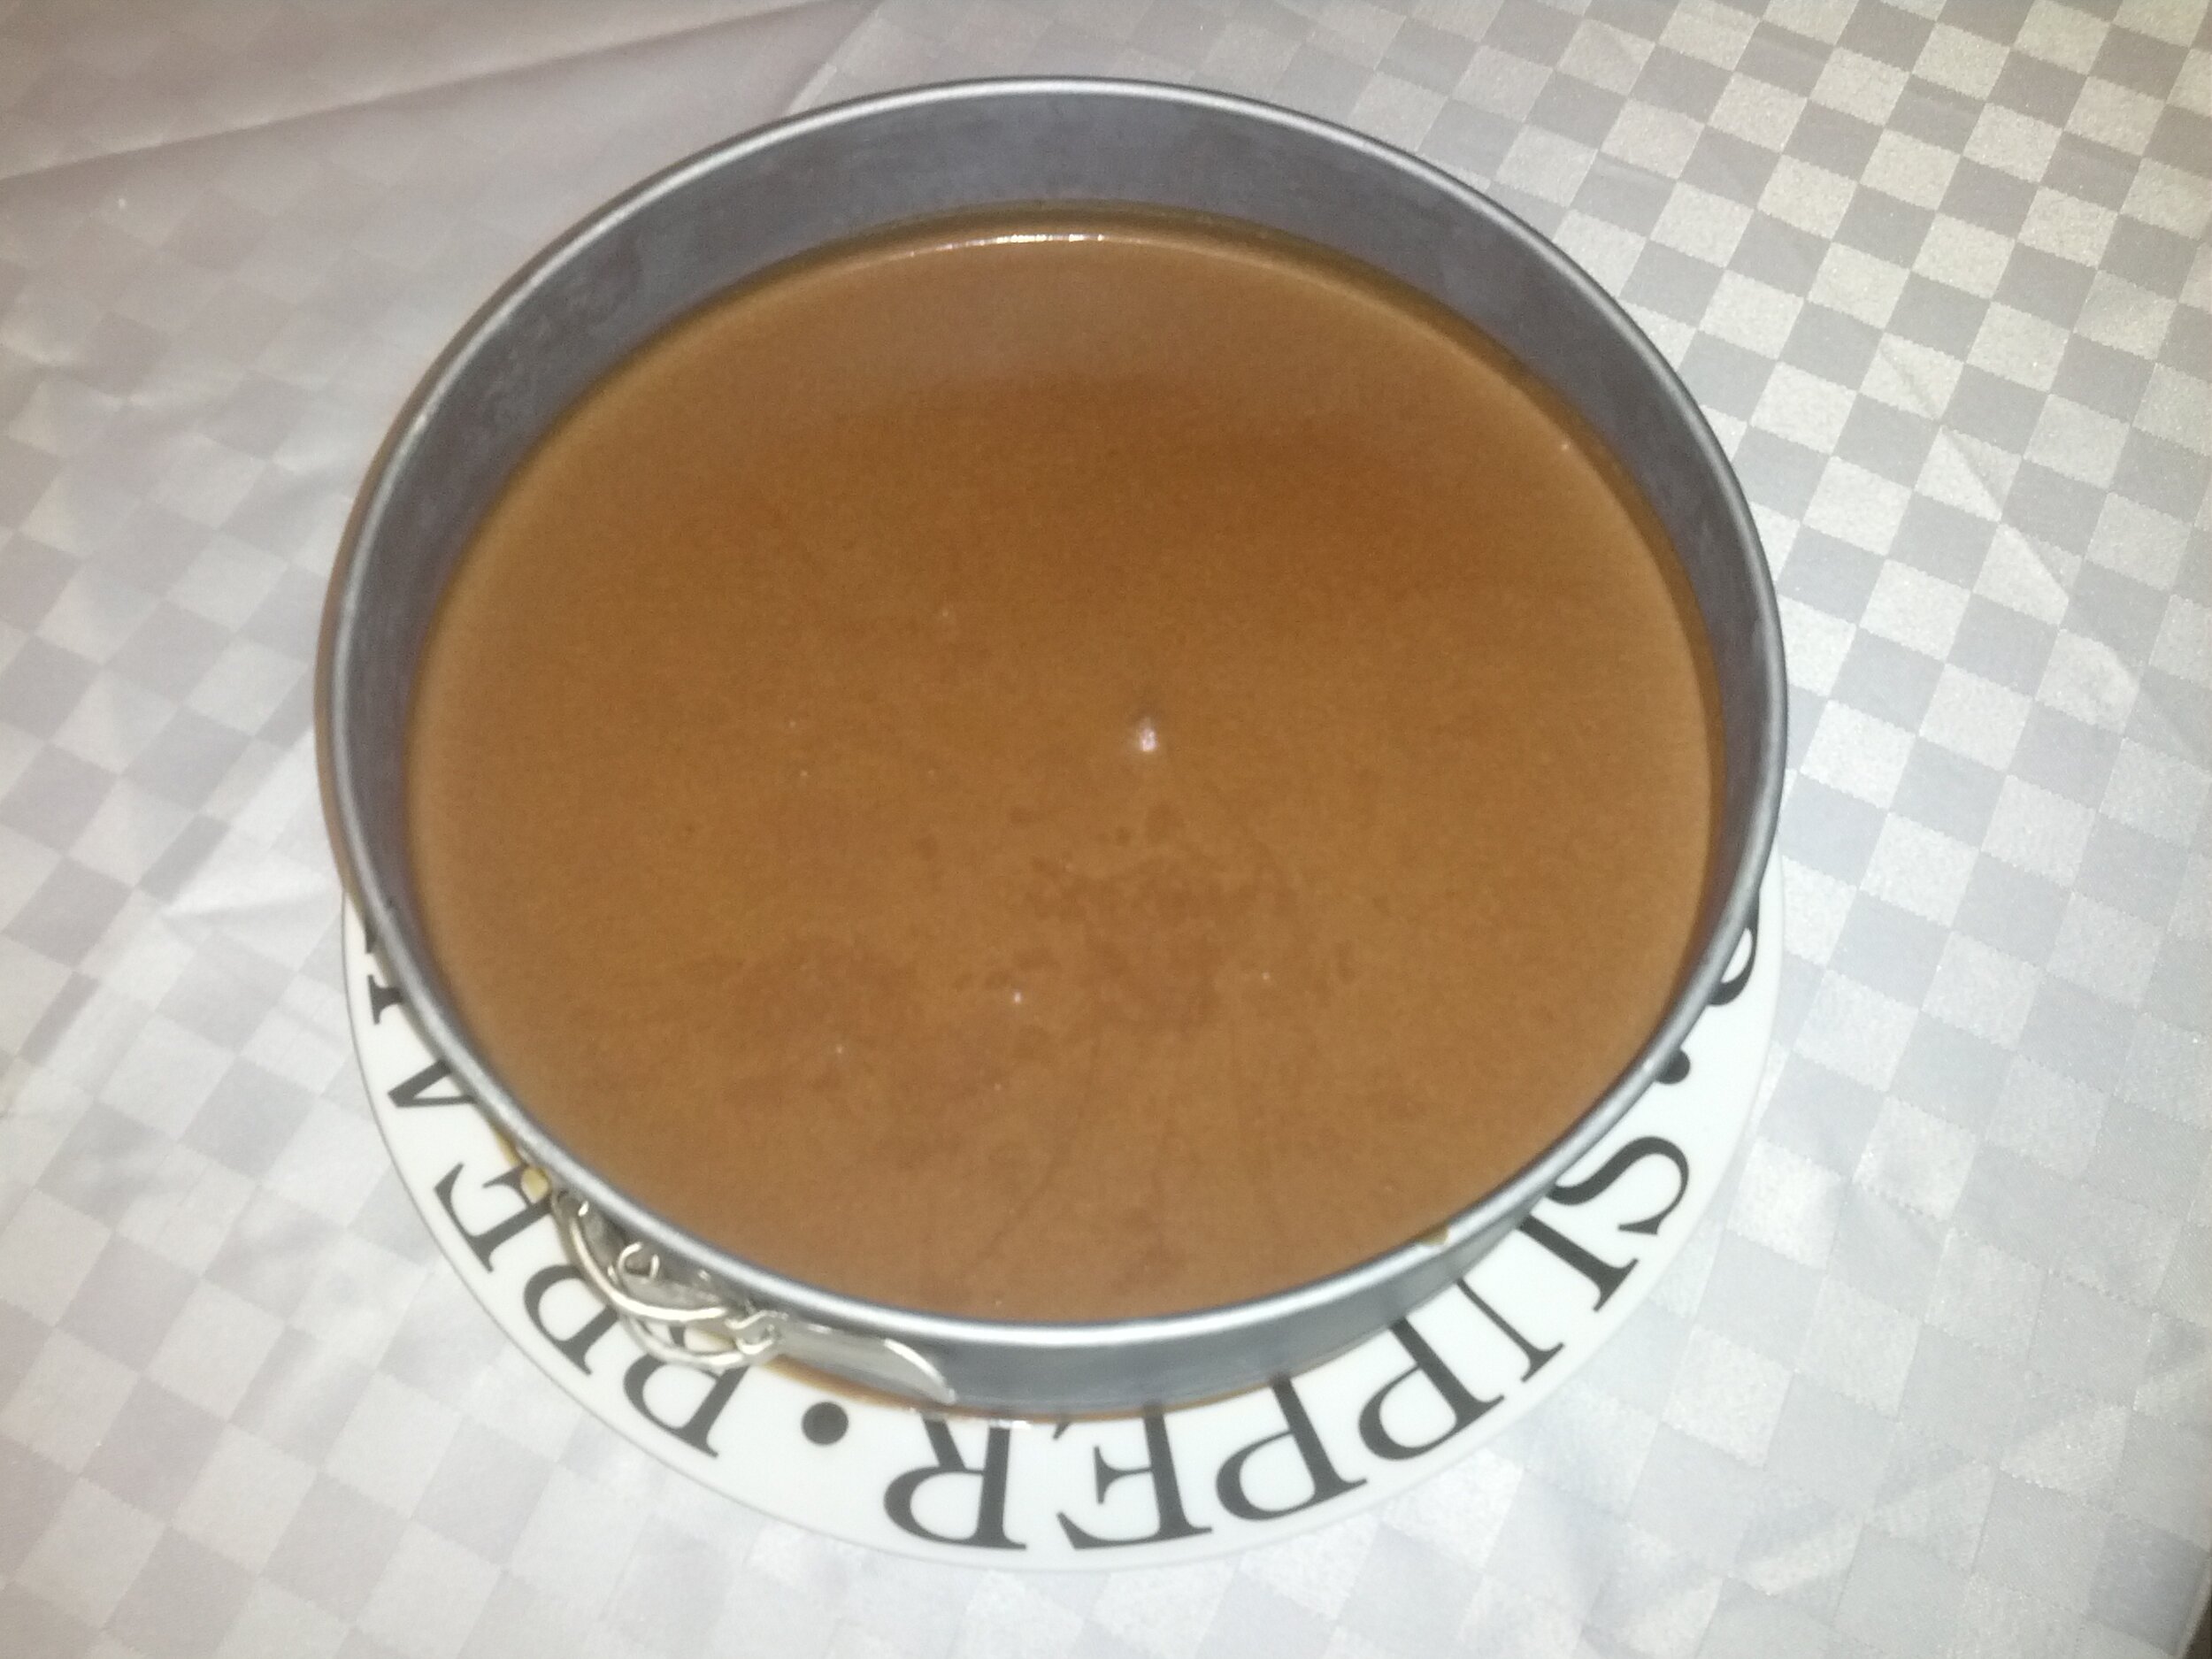
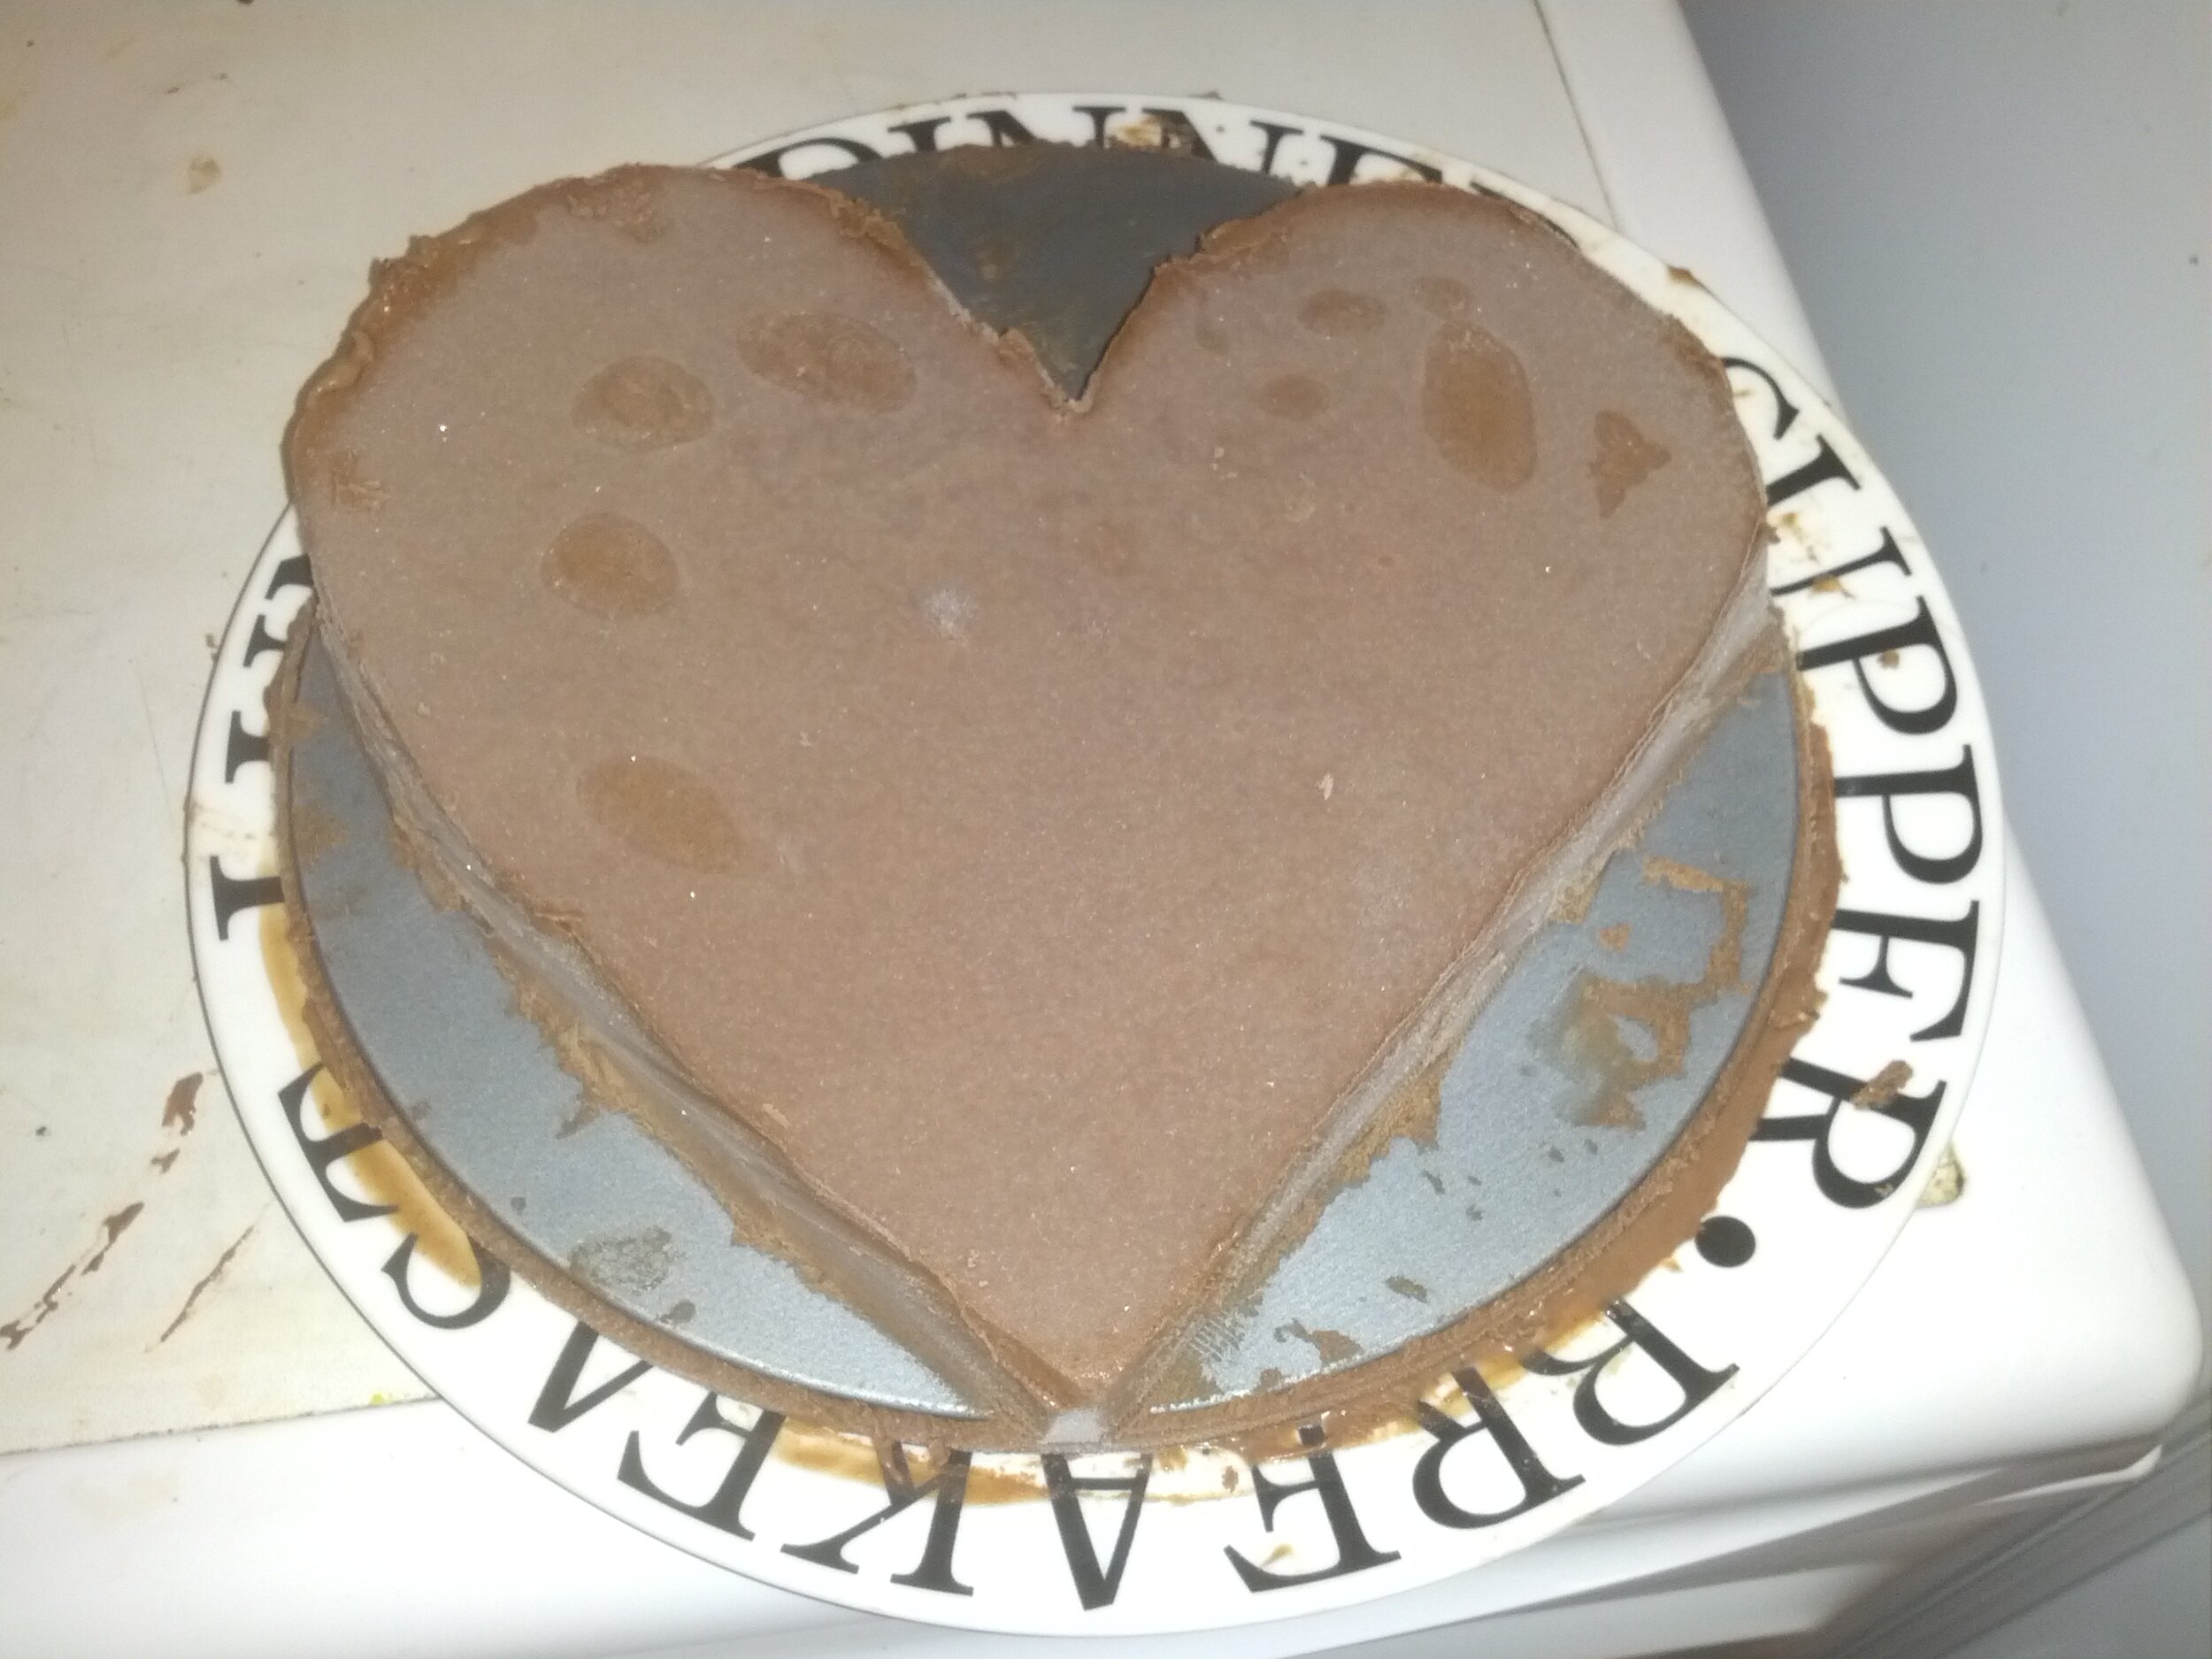
  6. Pour the mixture into a cake tin and allow to set in the fridge (I had to use the freezer because I messed up the earlier step).

  7. Dust with cocoa.

  8. Serve :)

Tom out!

*Apologies to people who don't like ginger - you won't find this tasty.

P.S. The original recipe: http://www.bbcgoodfood.com/recipes/1357/decadent-chocolate-truffle-torte


Project Thor: Exercise Plan

So what's the plan regarding the weight loss for Project Thor? I hear you all cry.

The 4-hour Body

Well it's a two part exercise plan and a diet plan (in a future post).

So the plan is:

  1. HIIT

  2. 4-hour Workout Plan

Part the First: HIIT

HIIT stands for High-Intensity Interval Training (more here: http://en.wikipedia.org/wiki/High-intensity_interval_training). I'm going to fulfill this part of my exercise plan via running. Unlike the marathon however these sessions are short (~20 mins) with a warm-up followed by 20 second bursts of sprinting interspersed with 10 second jogging sections. Feel free to laugh at my first attempt here: http://runkeeper.com/user/tomw2005/activity/107815470?&mobile=false

Part the Second: 4-Hour Body

There is a book I used last year to lose 2 stone. It is called the 4-hour body and is written by Tim Ferris. Previously I used the diet part of the book (discussed in the next post). This time I plan to use the 4-hour workout plan (so called because you have 8 half-hour sessions per month) as well. However I'm pretty sure there must be some law preventing me from posting all the ideas from the book here so I'll just leave the Amazon link and his blog link here: Book & Blog

Tom out!

Airsoft Stag-Do

So my friend Neil is getting married in less than three weeks and in aid of this a group of Warwick Airsoc members went on a private weekend shoot at The Grange and RAF Honiley. So what better chance to review these sites and to mention some of the cool stuff I got up to on my weekend?The Grange

For many members (and ex-members such as myself) of Warwick Airsoc this is our home site and has a fondness in our hearts as one of the first sites we airsofted at. In brief this is an excellent, small, woodland site that is easily accessible to anyone in the Midlands.

So how about a fuller tour? The site features two large fields separated by a trench and extensive bushes (perfect for sneaking around in but quite muddy). There are several crossing points including The Compound in the middle of the site which usually ends up being the location for some heated fire-fights. On the far side of the site there is Little Chuffington a village that is invariably used for a pistol-only game to end the day. Nearer to the safe-zone is the difficult to assault location of Bunker Hill which is a perfect location to set-up your sniper rifle or M249.

The Grange - from the top

Hunkering down at the Grange

The site also features a safe-zone with toilets and showers (yes, you can camp here for a weekend of airsoft!) and a nice shooting range with targets where you will find yourself chrono-ing before a day of shooting.

The Shooting Range

There is also a well stocked shop which features Gunmunki's custom guns which are truly awesome.

RAF Honiley

I was new to Honiley and it lived up to the hype. In brief this is a small, CQB/woodland site which is a whole lot of fun.

The site has a central complex with smaller buildings surrounding it and ample locations to devise a good ambush. The main building features a large 'Stargate' room and several control rooms and corridors which can become bottlenecks when the other team gets dug-in (memo to self: buy grenades!).

Inside Honiley

Inside Honiley

The Weekend's Games

This weekend featured a variety of great games including Compound Football, Zombies!, Bag Tag (c.f. TimeSplitters 2), Army of Two and Towers (an old favourite).

Zombies and Bag Tag were amazing fun and helped change the dynamic of the day ensuring we kept on having fun. The marshalling was great as usual too.

Conclusion

The site is awesome - go visit!

Tom Out!

P.S. This was meant to be posted aaages ago. Go visit the site!

P.P.S. The majority of the photos in this post were taken by the site marshals - thanks to them for the photos and obviously the photographs are copyright them :)

Project Thor

Thor

Thor

So this is my major Tinker (& fitness) project for the time being - Project Thor!

Basically I need ridiculous goals to achieve anything resembling fitness (c.f. running the marathon) and I have not done anything yet for the Tailor part of my blog so I conceived a cunning scheme - to go as convincingly as possible as the guy to the left [<-], The Mighty Thor!

This requires the following things:

  • Getting my weight down to 79 kilos (12.5 stone)

  • Putting on some muscle

  • Crafting Mjolnir

  • Making the upper body armour

  • Obtain some crazy black trousers (I mean just look at them [<-])

  • Obtaining some boots

  • Growing and dyeing my hair blonde

  • The challenge ends on October 31st 2012

Obviously there are a few caveats to the "convincingly" I wrote above. Clearly I am not an actor paid lots of money just to work out for a role so I will do my best to achieve a reasonable physique for the costume.

An update will follow later with 'Before' photos.

Tom out!

P.S. Apparently I already have a cape! :)

P.P.S Follow my weight-loss at Runkeeper: http://runkeeper.com/user/tomw2005/profile

Polymorphing

Polymorph mouldable plastic

So this is the first post of my new combined blogs *maniacal laughter*

One of the things I plan to post about a bit more regularly is my PhD. Not the general day-to-day stuff but the cool and wacky things that you wouldn't expect to do - of which there are many.

So I am in the process of prototyping various bits of MR safe equipment for use in my project and having been playing around with Polymorph. It is a re-mouldable plastic which you can melt in boiling water and then make into any old shape. For bonus cool science points it turns clear when mouldable and  white when it sets :)

Today I've been moulding it around an old tonic bottle and some test tubes - proof that my research will never cease to surprise me!

[You can buy Polymorph from Maplin]

Tom out!

P.S. This is my first Tinker post!

P.P.S. My blog has polymorphed!

Marvel Monday: The Definitive Thor

"Whosoever holds this hammer, if he be worthy, shall possess the power of ... THOR"

The Marvel Platinum series is designed to give new readers (such as myself) an overview of a character's origin and important stories in their lifetime.

[A note on SPOILERS: There won't be any as long as you don't consider mentioning the names of Thor, The Avengers or other Asgardians]

The Cast

Thor is the main character throughout but anyone who has watched the Marvel films will also recognise Odin, Loki, Volstagg (the Vast), The Lady Sif, Hogun and Fandral. There are also appearances by The Avengers and other Asgardians (above).

The Art

The artwork in this book spans the whole history of Thor and so the earlier comics are not as high quality as you'd expect today or in a good graphic novel. The depictions of Thor and his allies/foes definitely improve throughout the book but by the time you reach the more recent comics the quality is top notch :)

The Writing It's nice to see such a cross-section of comic history. You can see how the writing style changes (the early Thor comics do seem a little childish). One noticeable change in the writing style comes when Thor's speech is made more accessible (if you thought he talked strangely in the films wait 'til you read the earlier comics!).

The later stories are superbly written and the characters seem vivid and exciting. There's a brilliant bit where Thor is given a stern talking down for his actions.

The Stories

The first two stories cover Thor's origins (one from the first comic and another one with more detail from later on). From then on we see the God of Thunder dealing with many different foes including some you'll recognise from the films (with the aid of The Avengers). It's hard to discuss any of this further without spoilers but some of the story arcs in this collection are excellent and a must read for fans of the films.

The Conclusion

This is a great overview of a character I didn't know much about until the films came out. I've learnt lots and enjoyed the ride :)

Next time on Marvel Monday - Uncanny X-men 1!

Tom out! :)

The Linkhttp://www.amazon.co.uk/Marvel-Platinum-The-Definitive-Thor/dp/184653481X

Marvel Monday: Astonishing X-Men

I was going to start off my new blog incarnation by reviewing the Avengers. However, I figured that has a) been done to death and b) any geek worth their salt should have seen it by now. In short - it is excellent, go and see it. The 3D doesn't detract from but also doesn't improve the film really. Anyway onto this review...

"They're Gifted. They're Dangerous. They're Torn. They're Unstoppable" ... and they definitely astonish!

Astonishing X-Men is a hardcover omnibus which covers Joss Whedon's full run behind the wheel of the comic. There's 672 full colour pages of awesomeness contained within.

[A note on SPOILERS: There won't be any as long as you don't consider mentioning the names of X-men a spoiler (they are on the cover after all) or vague allusions to awesomeness]

The Cast

The main cast features Wolverine, Cyclops, Emma Frost, Beast, Kitty Pryde & Colossus (see cover & pic above). There's also your usual Marvel background organisations around (S.H.I.E.L.D. etc.) and a new main villain introduced early in the story :)

Personally my favourites have to be Wolverine, Kitty and Emma. They have the best humourous lines and scenes in the comic. Emma Frost is still the catty queen of put-downs and well Kitty can phase through walls with sometimes hilarious consequences.

The Art The artwork is second to none when it comes to quality and equally has a sense of humour with some of the best humourous facial expressions I've seen (see this individual comic cover which cracked me up ->).

Also the characters are all reasonably presented - no impossible curves or muscles. I think I prefer the characters like this but that's a personal choice. Although Beast does look more like a cat than usual which is a little odd.

The Writing If you've seen anything by Joss Whedon you should be expecting excellent writing and he doesn't disappoint! There is humour, darkness and some surprises in store. I laughed out loud several times while reading this series and couldn't put it down :)

The Awesomeness Pretty much every page - some of the double page artwork blew me away. As did most of the dialog!

The Conclusion If you do read comics - this is definitely a read you will enjoy.

If you don't read comics - I would definitely suggest this as a way to get into them - it's excellent!

Next week on Marvel Monday - The Definitive Thor!

Tom out! :)

The Link http://www.amazon.co.uk/gp/product/0785138013/

The Times They Are A-Changing!

So I haven't posted a Tea blog in aaaages. This is for three reasons: 1) Being busy 2) Not having enough new tea to try due to all the tea I have to drink still. 3) I feel the blogs are quite similar and should have more variety from week-to-week

Due to this I'm planning to change the blog to a general review blog. With a focus on Tea, Geekery, Student things in Manchester (and wider afield if they're good enough). I'll start editing the look and feel of the blog tonight and post my first review :)

Tom - out!