Sponge

Giant Jaffa Cake

Ingredients

  • 12 oz self raising flour*

  • 12 oz caster sugar

  • 12 oz margarine/unsalted butter

  • 6 medium eggs

  • 2 packs orange jelly

  • 1 pint water

  • 300g chocolate

How-to

  1. Cream the sugar and marge together in a big bowl

  2. Add in the flour and eggs slowly.

  3. Mix thoroughly.

  4. Bake in a frying pan at 180°C for ~30 minutes (or until cooked through)

  5. Leave to cool.

  6. Dissolve two packets jelly in ½ pint boiling water.

  7. Make up jelly to 1 pint by adding ½ pint cold water.

  8. Leave to cool in a small bowl (pick one the correct size and shape for a good jaffa cake look).

  9. Carefully slide a knife around of the jelly and then upturn on top of your cake base.

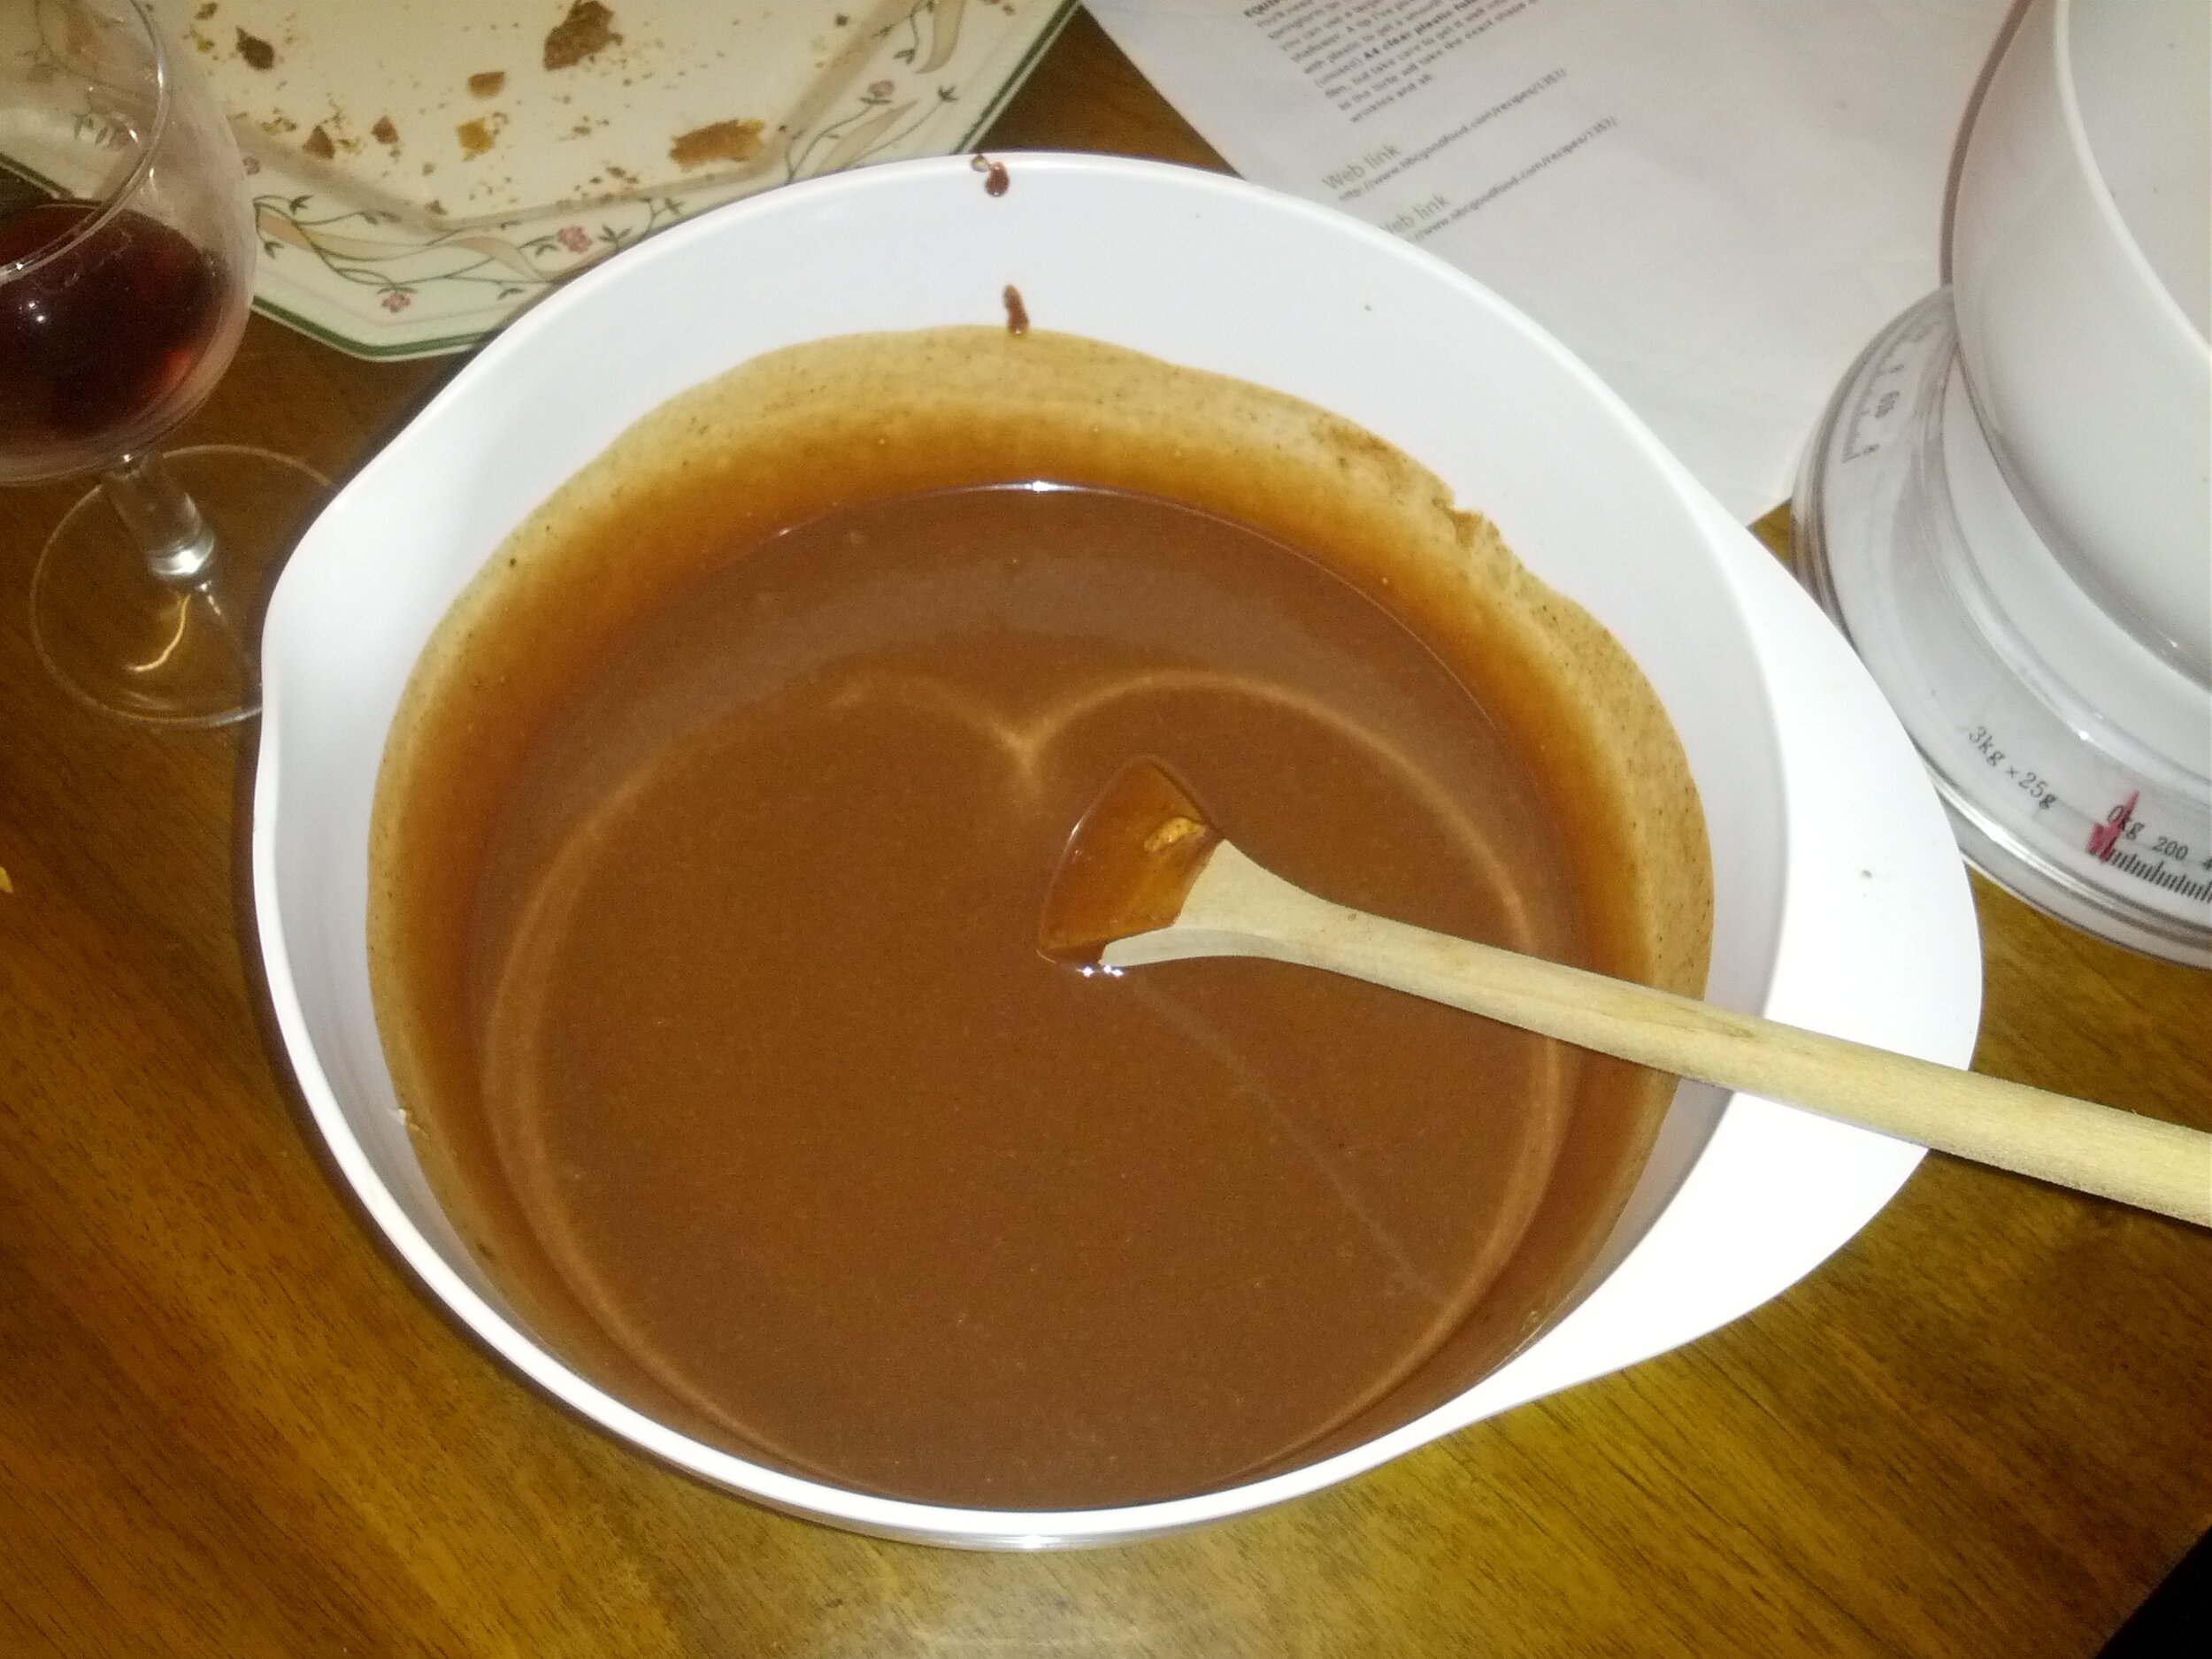
  10. Melt the chocolate in a bain-marie (small ceramic/glass bowl in a saucepan of hot water).

  11. Coat the (top of the) cake in chocolate.

  12. Allow to cool

  13. Apply a pattern in any remaining chocolate to the top.

  14. Allow to cool.

  15. Enjoy :D

Enjoyed!

*The original recipe said that baking powder was required then their cake overflowed. It really isn't required.

Tom Out!

P.S. Original recipe: http://www.pimpthatsnack.com/project/332/

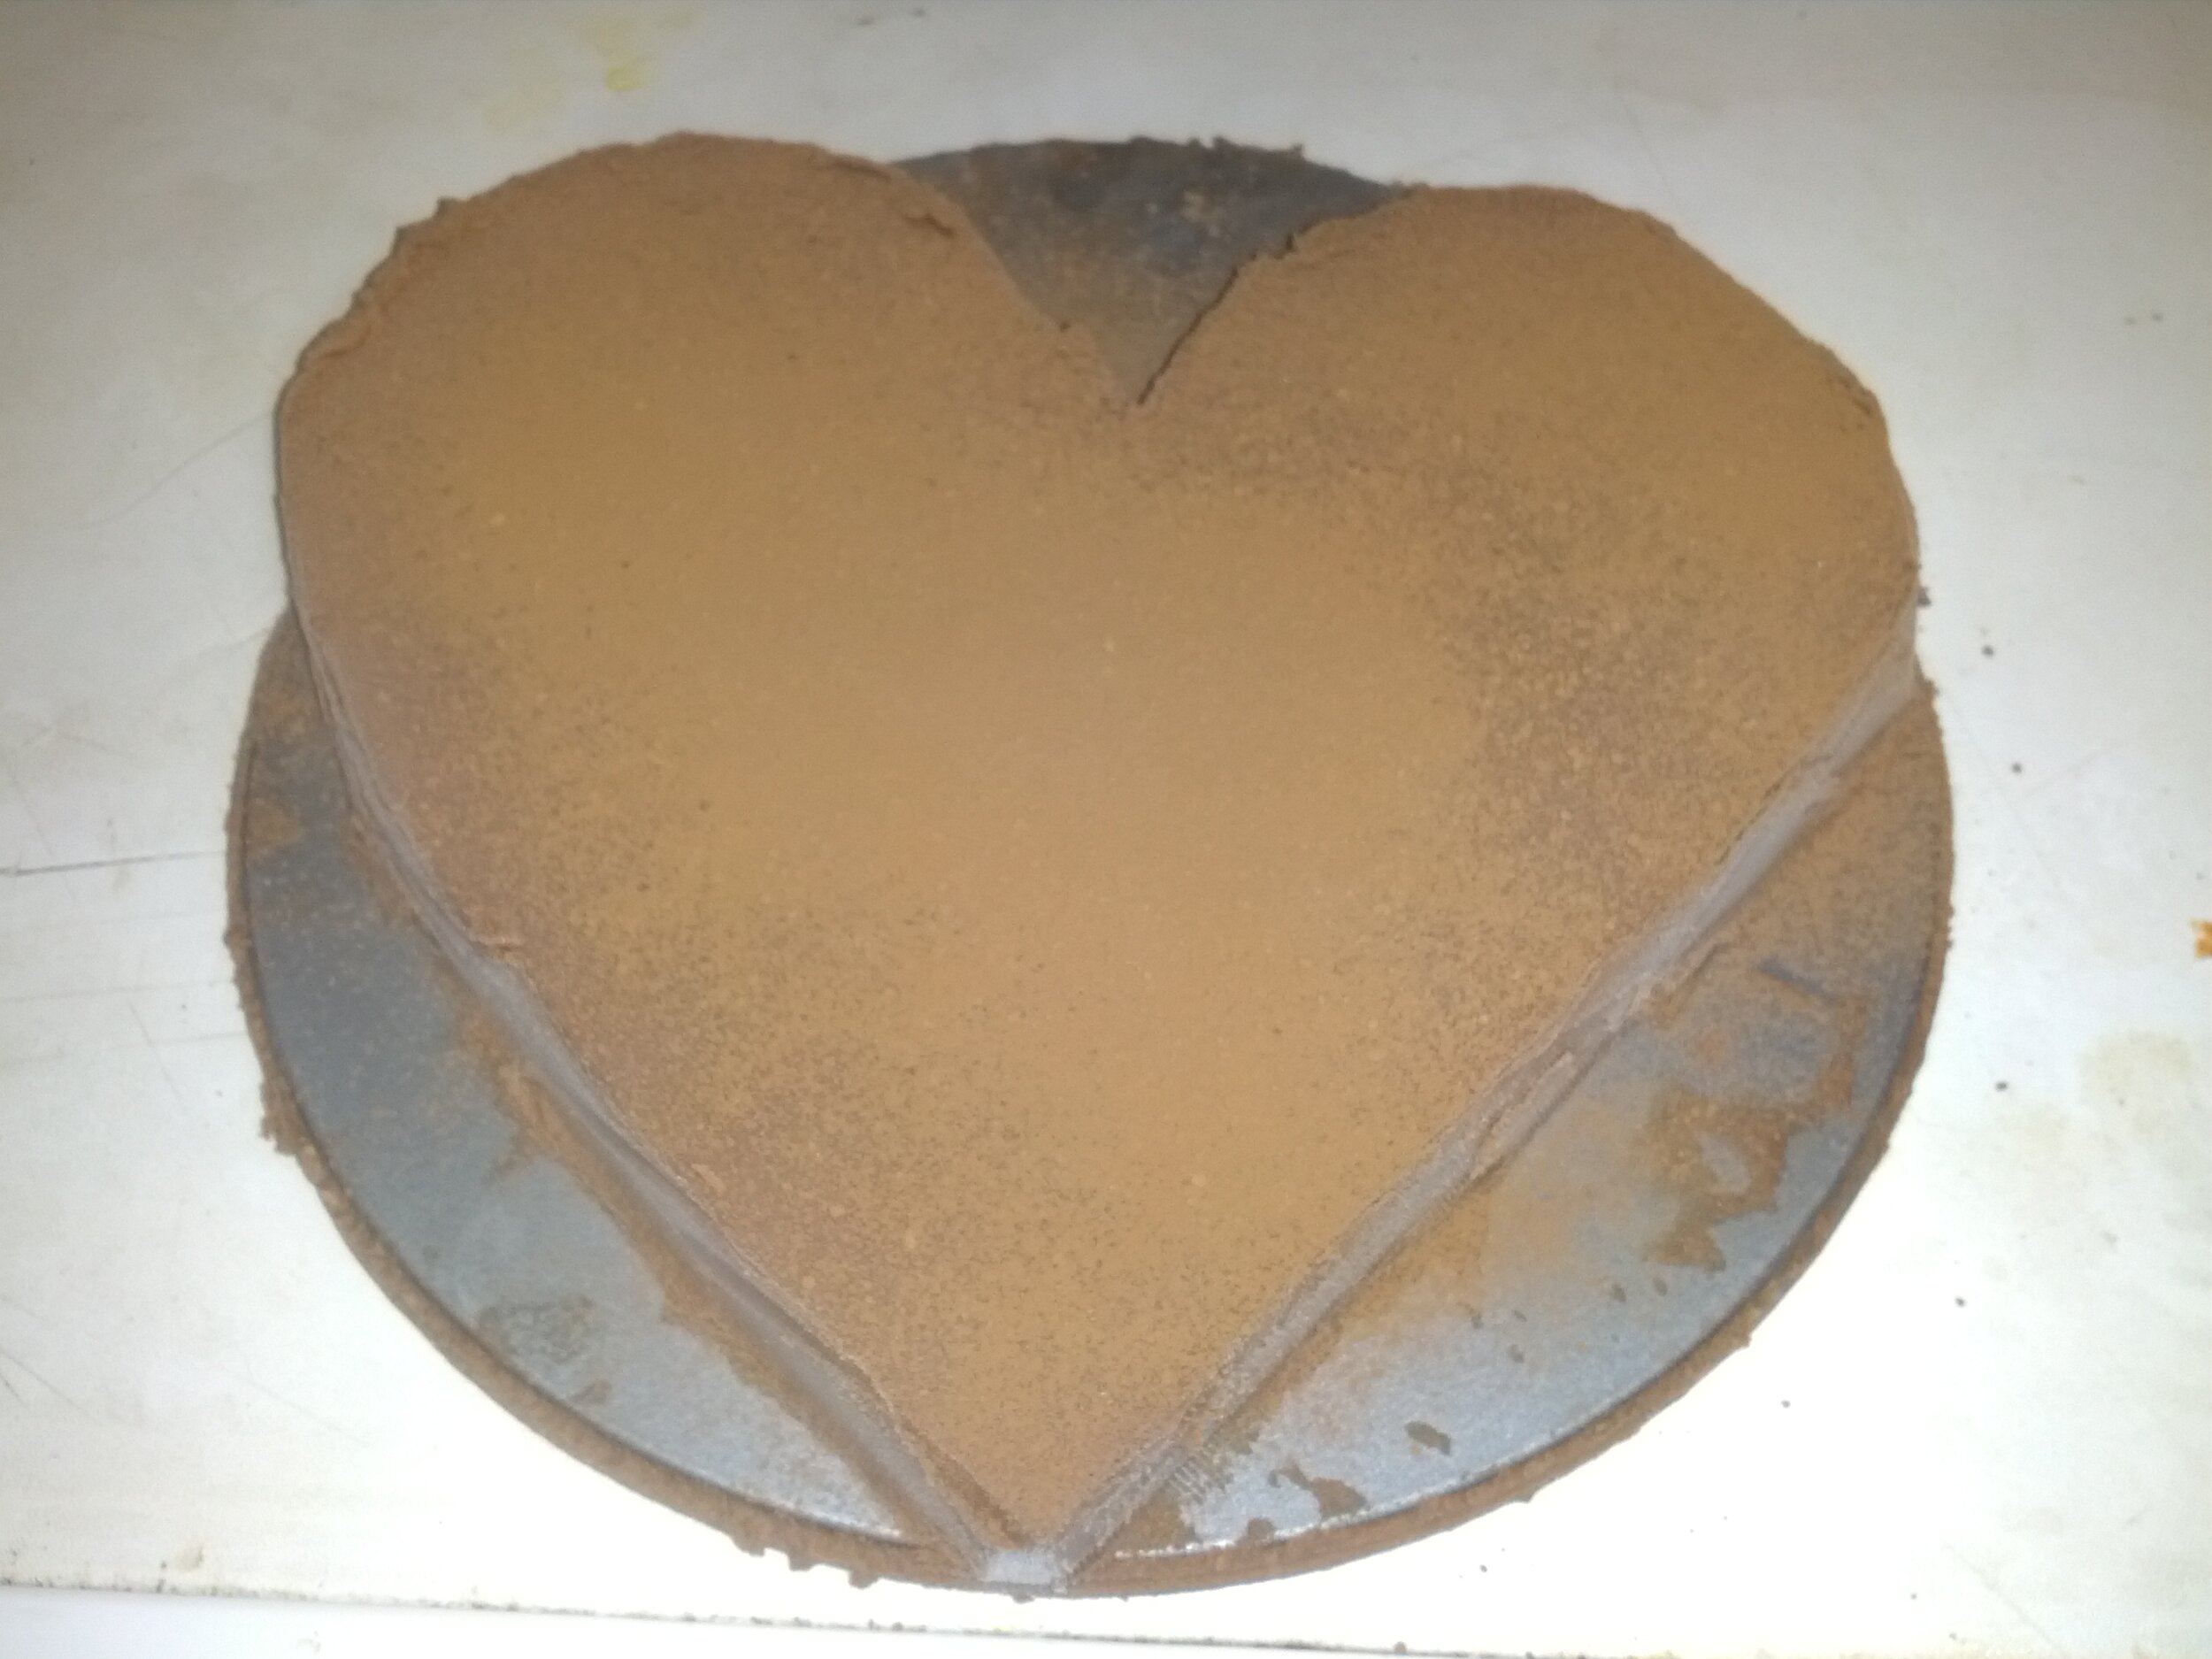
Decadent Chocolate Ginger Torte!

Happy Weekend! Here's a cake recipe!

This is my adaptation of a chocolate torte recipe to make it even yummier (just add ginger).*

Ingredients:

  • 250 g Dark chocolate

  • 2 tbsp golden syrup

  • 568 ml (pint) double cream

  • a handful of glacé ginger

  • as much ground cinnamon as you can handle :p

  • coca powder (for dusting)

How-to:

  1. Break the chocolate into a bain-marie along with the golden syrup and about a third of the cream.

  2. Heat over a low heat until melted (~15 mins).

  3. Wait for the chocolate to cool to 'just warm' (I forgot to do this so it didn't work out as well as hoped).

  4. While the chocolate cools put the remaining cream, the cinnamon and ginger in a bowl and whisk until the cream takes a few seconds to lose its shape.

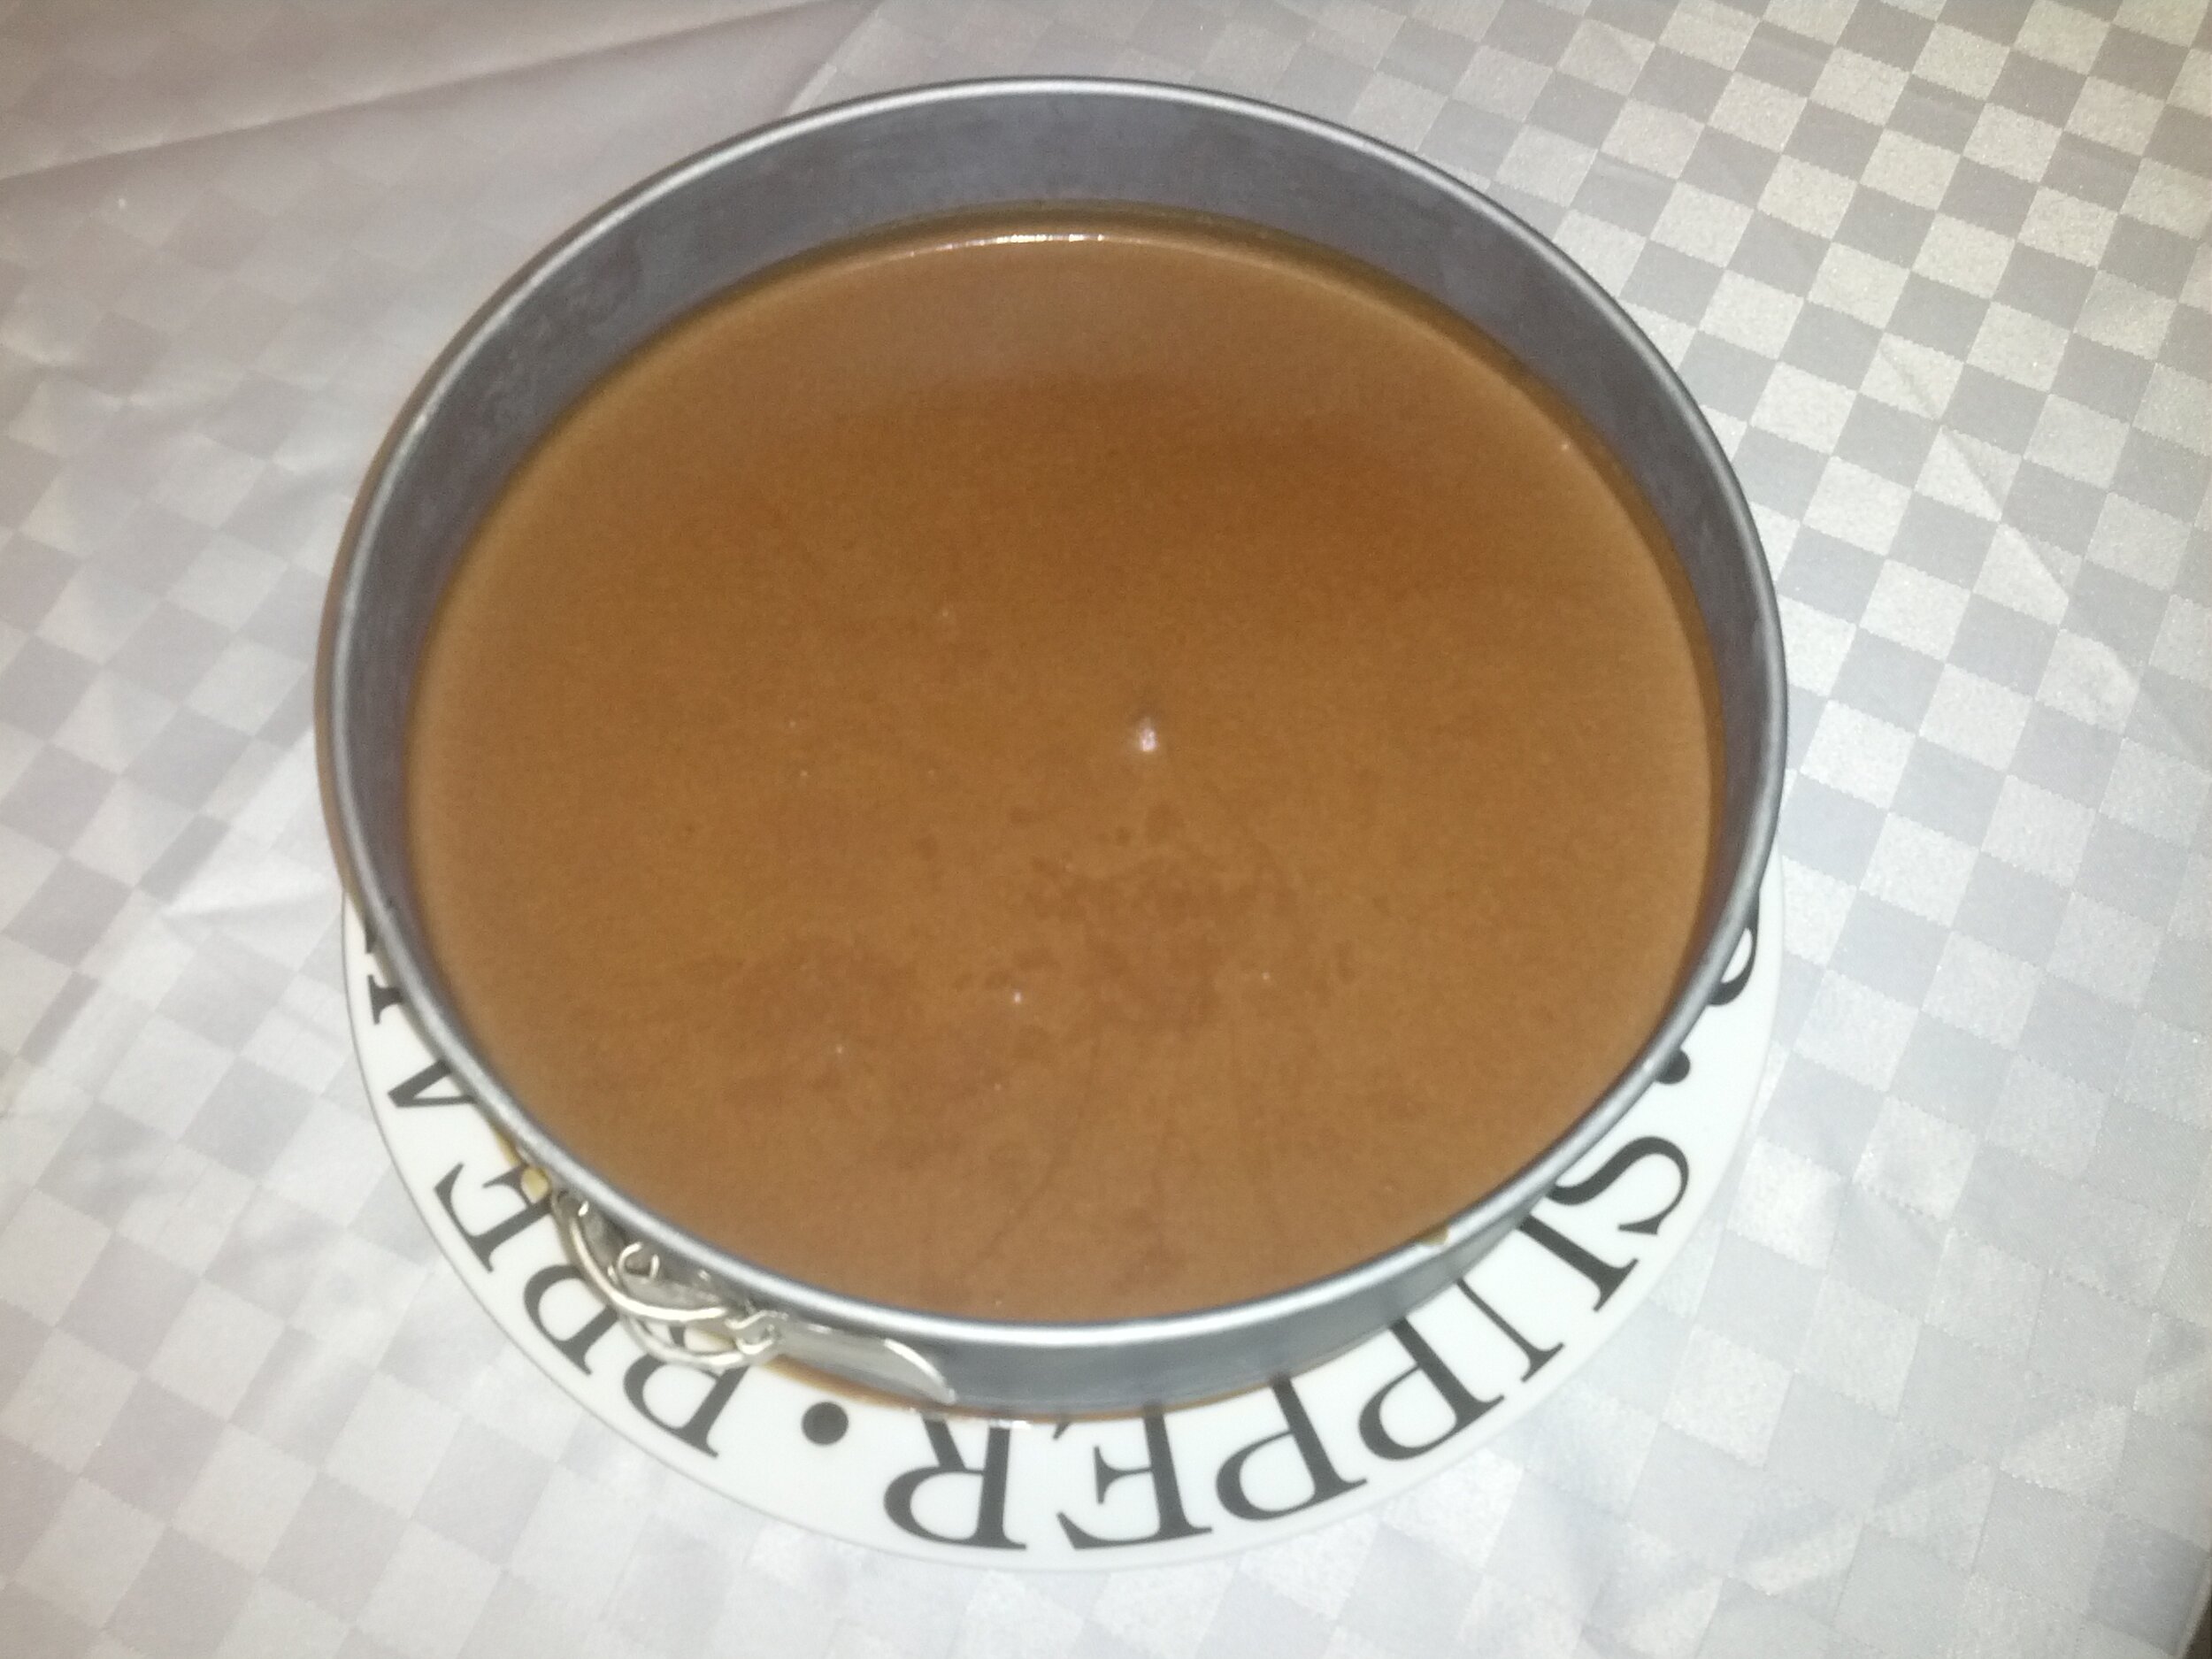
  5. Fold the chocolate mixture into the cream.

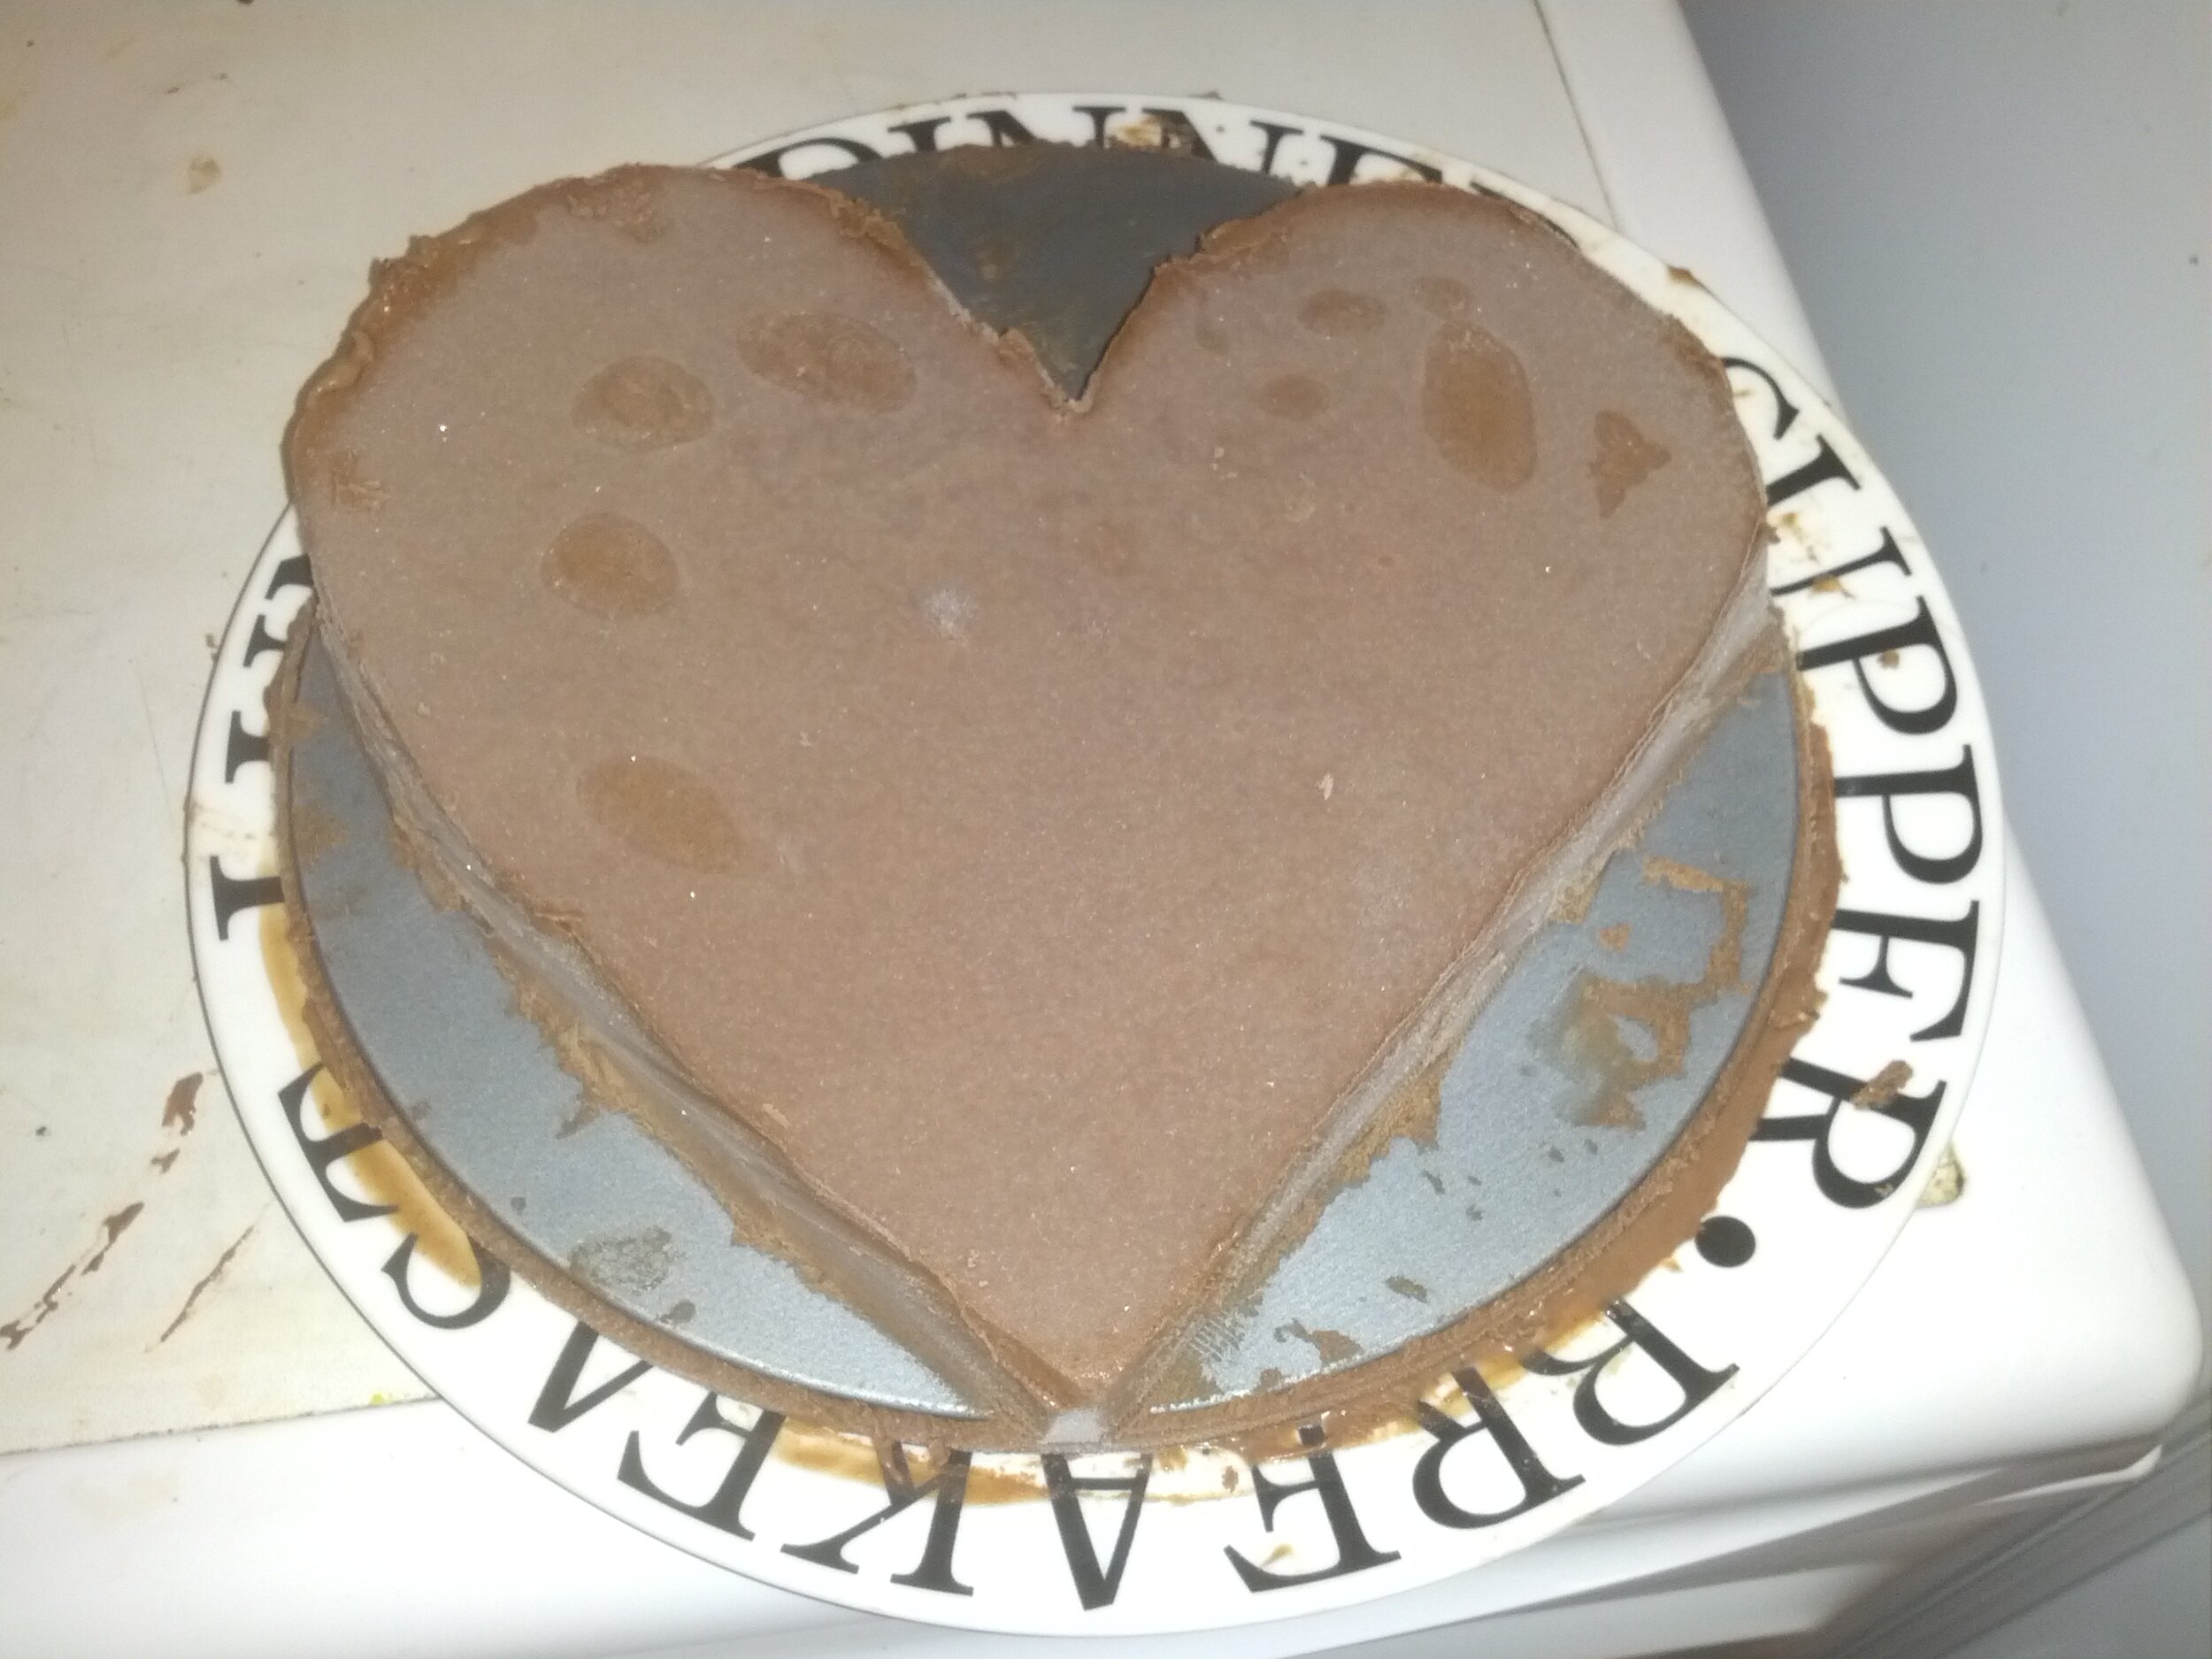
  6. Pour the mixture into a cake tin and allow to set in the fridge (I had to use the freezer because I messed up the earlier step).

  7. Dust with cocoa.

  8. Serve :)

Tom out!

*Apologies to people who don't like ginger - you won't find this tasty.

P.S. The original recipe: http://www.bbcgoodfood.com/recipes/1357/decadent-chocolate-truffle-torte


Maple Syrup Refrigerator Cake

Well this is my first proper post on this new blog and what better way to start than with some baking!Since I will be attending a small Tea Party this week I decided to make a Refrigerator Cake (sometimes called Tiffin) with a twist. And while I was at it I also made a normal refrigerator cake (because I'm a scientist and needed a control cake, plus there was a house warming to attend later in the day).

Ingredients

To bake along with this blog obtain the following ingredients:

  • 4 oz (125 g) Margarine

  • 2 oz (50 g) Soft Brown Sugar [for an original refrigerator cake substitute Caster Sugar]

  • 2 tbsp. Maple Syrup [for an original refrigerator cake substitute Golden Syrup]

  • 2 tbsp. Drinking Chocolate

  • 1 tbsp. Cocoa

  • 10 oz (300 g) Crushed Digestive Biscuits

  • 2 oz (50 g) Glacé Cherries [chopped]

  • 2 oz (50 g) Raisins

You can also add chocolate icing (however, since this is such a rich cake I never feel it needs it!):

  • 4 oz (125 g) Plain Chocolate

  • 1/2 oz (15 g) Butter

Recipe

  1. Place margarine, syrup, sugar and milk in a pan and heat gently.

  2. Add drinking chocolate, cocoa and half the biscuits and mix well.

  3. Add remaining ingredients and stir until thoroughly mixed.

  4. Press into an 8 inch (20 cm) Sandwich tin.

  5. Chill in fridge until set then remove from tin.

Icing (optional)

  1. Melt chocolate and butter in a small bowl over a pan of hot water (a bain-marie) and mix well.

  2. Spread over biscuit mixture and allow to set.

Step-by-Step Comparison

I decided to take comparison photos as I went along between the two (you know for Science! ...and baking).

[Original on the left, Maple syrup on the right]

Step 1:

DSCF8052

DSCF8053

Not much difference at this stage though the Maple syrup was obviously (and worryingly) runnier than the Golden syrup.

DSCF8054

DSCF8055

At this point the margarine just wouldn't mix with the Maple syrup and I seriously began to worry about the integrity of my dessert!

Step 2a:

Now there is potentially room for debate on the, until now, presumably uncontroversial topic of crushed digestives. Do you use old broken biscuits? Do you break them individually? Do you smash them with hammers? [Clearly not, that is silly and dangerous] Do any of these methods achieve such good results as in the next picture?

DSCF8058

Now this is definitely the most fun part of making a refrigerator cake because the answer, my friends, lies in using the trusty rolling pin:

Pictured: Biscuity doom

Step 2b:

DSCF8059

DSCF8060

The darker colour of the Maple syrup and brown sugar mixture is beginning to show. Also it is finally mixing well. [Watch out at this stage as the Maple syrup boils much quicker than its Golden cousin]

Step 3:

DSCF8061

DSCF8062

No difference at this stage but the second best part of making refrigerator cake is eating spare glacé cherries. Om nom nom!

Step 4:

DSCF8067

DSCF8066

Again the Maple syrup cake is much darker in colour and was scrumdiddlyumptious (at least I thought so, the real test will be at the Tea Party).

That's all for this Sponge Post :)

Hello World!

Well this is the first post I'm making here on my shiny new blog.In short I thought no-one would want to listen to my problems etc. (those who do can do so IRL) so I decided to make a blog full of useful/interesting things (or at least it will be).

The name of TinkerTailorSoldierSponge sums up my intention for this blog fairly neatly - these will be the 4 major categories of posts:

  1. Tinker - a catch-all term for DIY and computer related geekery
  2. Tailor - costume design/construction for fancy dress purposes (or even porpoises)
  3. Soldier - Airsoft related activities
  4. Sponge - cookery (mostly cakes) [won't start until mid-June when I move to a house with a working oven]
Over the next few days I'll be getting to grips with WordPress and blogging in general. First to pick a theme...
Tom W