

In which I discuss mapping a whole new worrrld ♪♫♬...
Generally I like to start a campaign with the world still in my head and get a feel for it before setting locations in stone. There comes a time, however, when your players need to leave their starting locations and you have to stop being wishy-washy about how long travel takes. That is when a map is called for. This is a guide on how to generate the kind of map I like using Photoshop and some select tools.
Tools
Photoshop CS6 (or newer)
Brush Sets:
Fonts:
* You can also get an extended set of these brushes for a mere $10. I'd recommend getting those too.
How-To
Generating A Map
You have a few choices here:
If you are better at drawing than I am you can sketch out the large scale world map and scan the outline in as your base map.
You can use an existing map generator to get an outline. Getting a decent quality map to download is usually a paid feature and you will need a high enough resolution that it stands up when you zoom in (for reference: my final map was 29765 by 21260 pixels).
You can generate random land masses as per reference [1] which I will summarise below.
- In a new layer: render some clouds
Filters > Render > Clouds. - Create a threshold layer to leave you with just the shape
Layer > New Adjustment Layer > Threshold. - In a new layer: Use a black brush to remove any unwanted land. You will probably need to do this with several sizes of brush as I found I had lots of small lakes that were unnecessary.
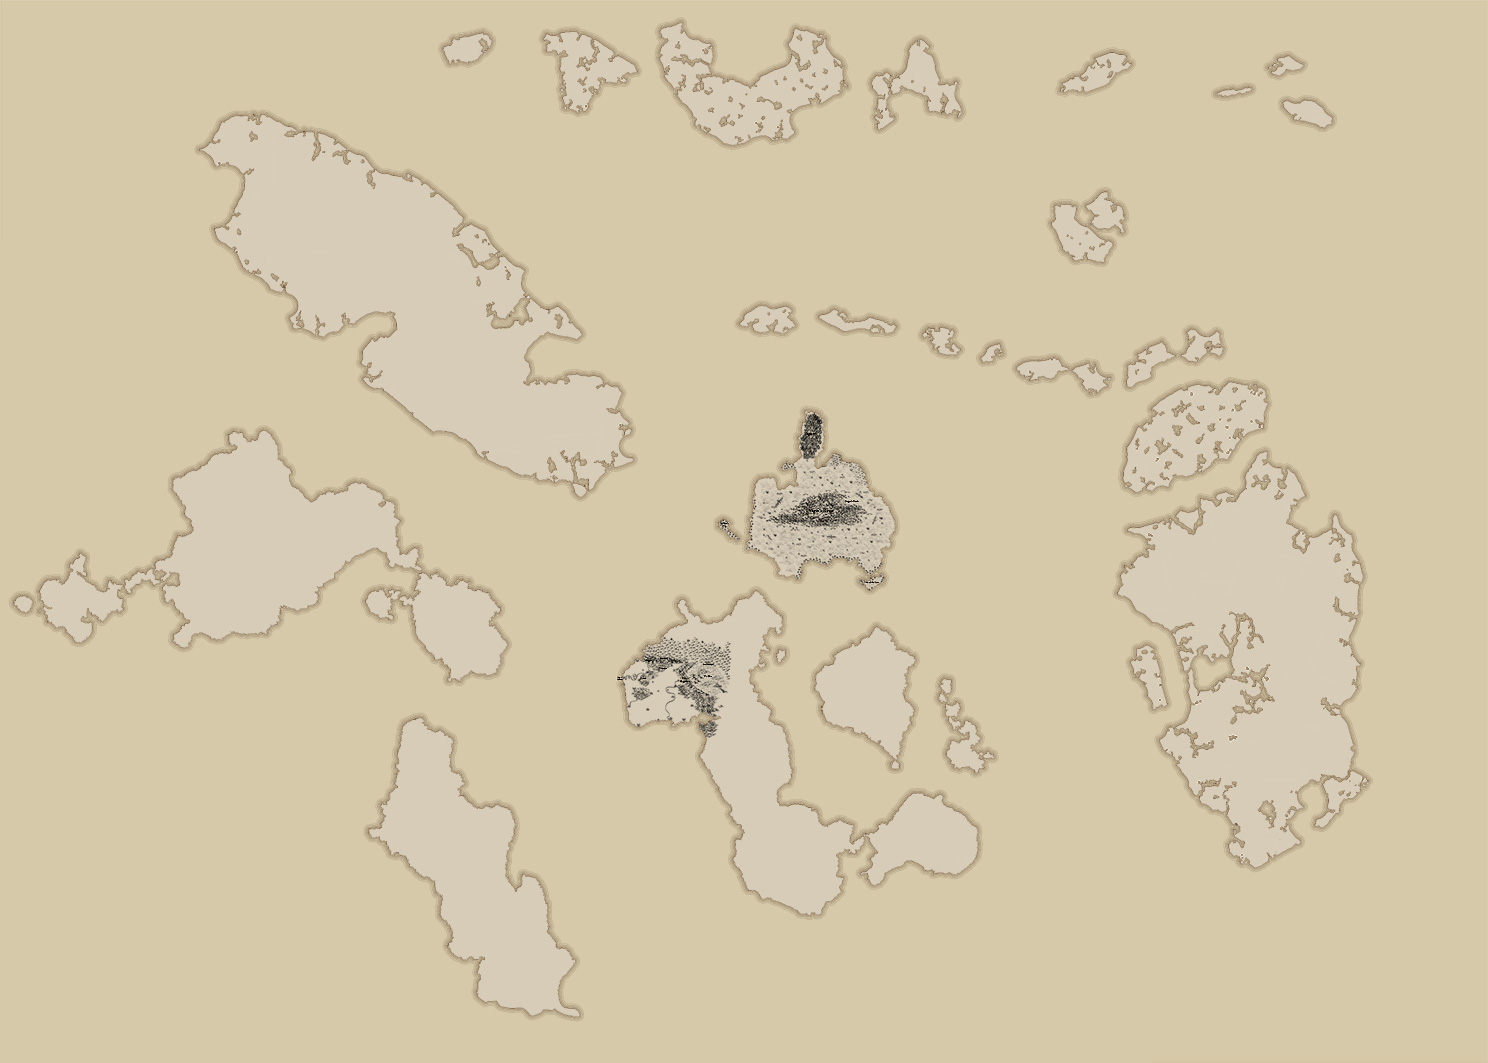
- Copy a merged selection onto a new layer and fill with your land colour. I chose to use a mid-brown (#D6C9A9) to give my map an 'older' feel and compare to the light brown (#D7CCB8) of the oceans.
It should look something like this:
Some land (quite hard to distinguish from the sea at this stage)
Concentric Rings
I wanted to recreate an effect that I have seen on some older maps where the land edges are repeated like ripples out into the sea.
- Download
ripples.zipfrom reference [2]. - Unzip the countour files.
Select your land layer and add an outer glow effect with the following parameters:
- Blending mode = Normal
- Opacity = 100%
- Colour to a contrasting colour (I used https://www.colorhexa.com/40200b)
- Technique = Precise
- Size to how far the ripples need to project into the sea
- Anti-aliased = True
Load the contour file that gives the desired look for your ripples (I prefer the
Wavesfile).
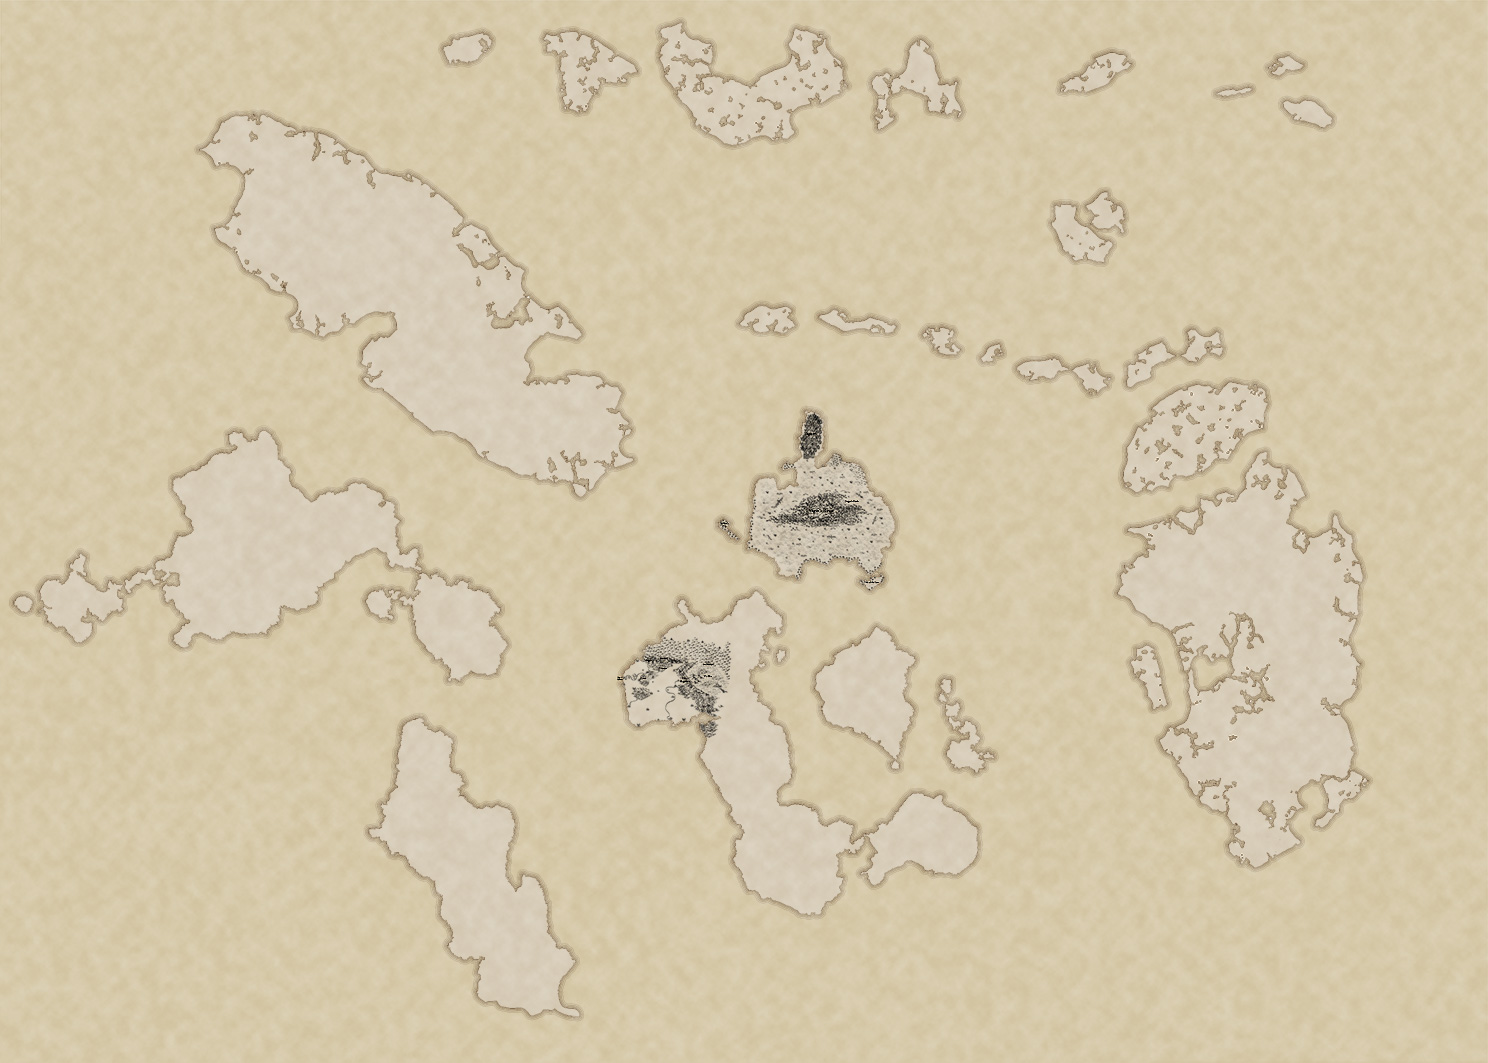
It should look something like this:
Some contoured edges make the land much more distinct
Populating Your World
This is by far the easiest part. Grab a brush you like and start clicking away. I'd recommend having layers by type, e.g.: terrain, settlements.

My Layers for different brush types
Just make sure you have the correct layer selected when you are adding the relevant brushes. This is particularly useful if you want to quickly hide a layer to modify something or for when your players request a specific view of the map†.
If you are struggling with ideas for your fantasy world I would recommend the huge Reading List on /r/WorldBuilding.
Here's part of the starting area for my campaign with some terrain and settlements thrown in:
Starting to look a lot more lived in
The whole world is by no means finished and don't worry about perhaps adding something later on as the players discover new areas.
†Political map? Why not throw it in a layer and hide it when not needed?
Labelling Your World
- Grab yourself a nice font and install it. I used JSL Ancient.
- Add your labels using the
Text Tool. - For labels over terrain apply an
Outer Glowto the layer. I set the colour of the glow to be a slightly lighter shade than the land colour. This looks more in keeping than a white glow but still stands out over black terrain.
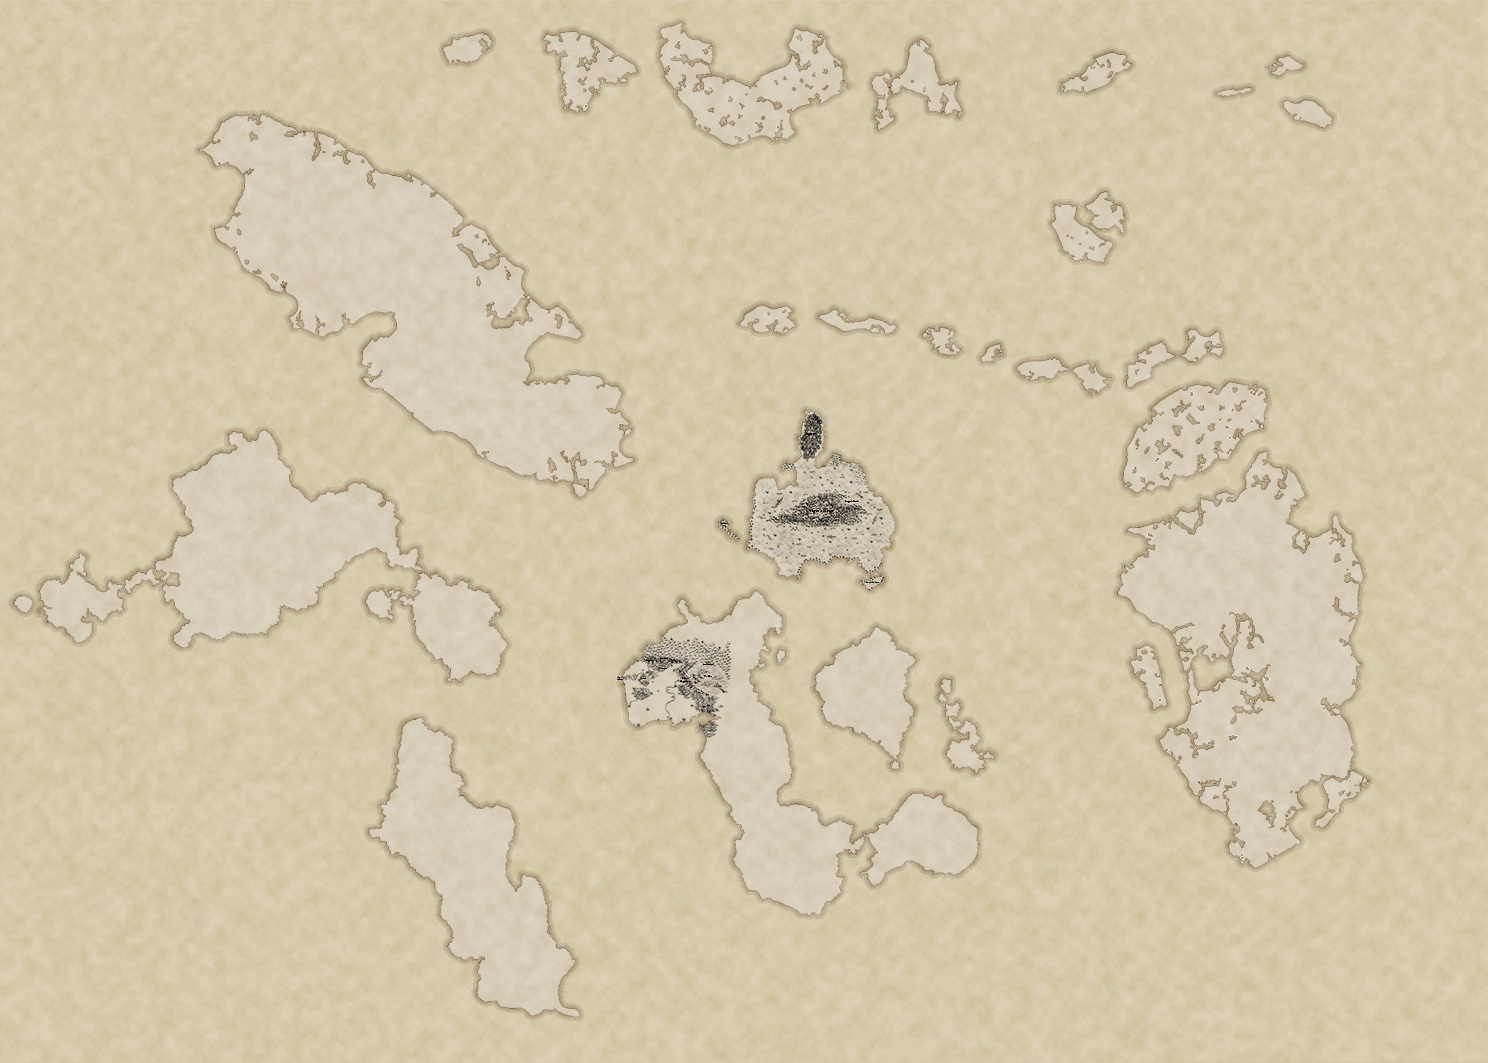
Your nicely labelled map should look like this:
Oh good, now we know where we are!
Parchment Effects
A brief summary of [4]:
- Make a new layer and render some
Cloudslike we did above. - Apply a spatter:
Filters > Brush Strokes > Spatterand drag the sliders to maximum. - Set the blend mode to
Overlayand pick an opacity that works for you. - Create another new layer full of
Clouds. - Then apply a cutout:
Filters > Artistic > Cutoutand set the following options:- Number of Levels = 4
- Edge Simplicity = 3
- Edge Fidelity = 3
Overlaythis layer and set the opacity appropriately.- Create another new layer and use the burn tool around the edges of the map to give a stained look to the document.
- Finally I threw in some borders, sea monsters and a compass to complete the map look.
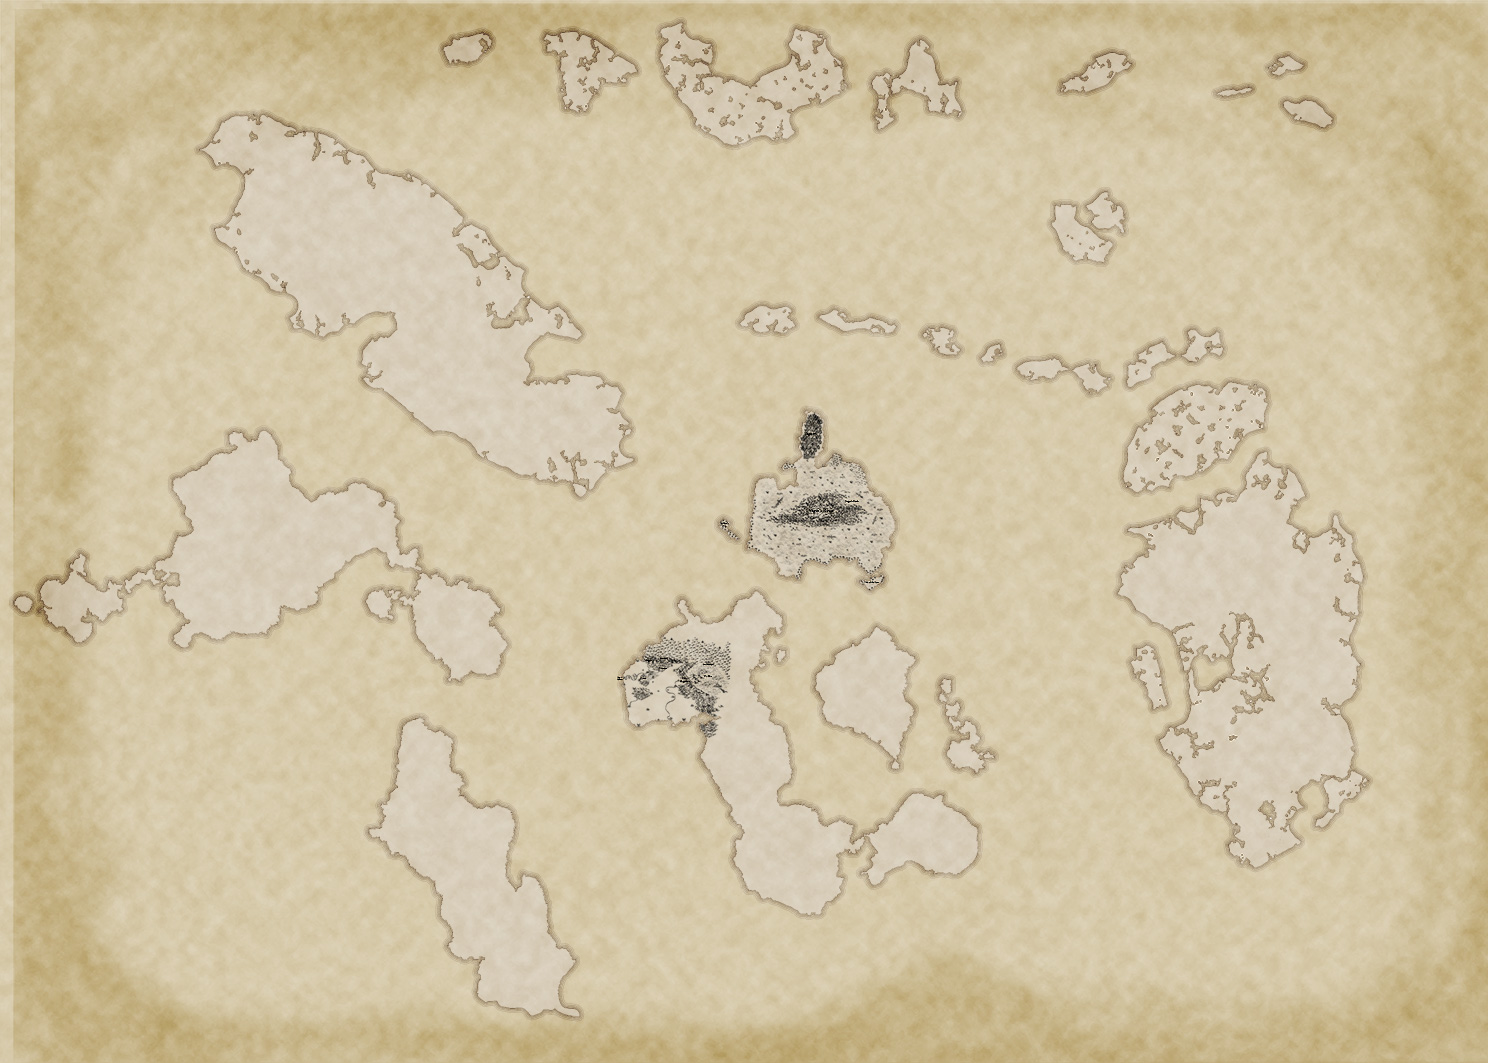
Here's the whole process to finalise the map:
Conclusion
And there you have it:
Hildettar, the Lands of Men
Rámalócenór, The 'Lost' Continent
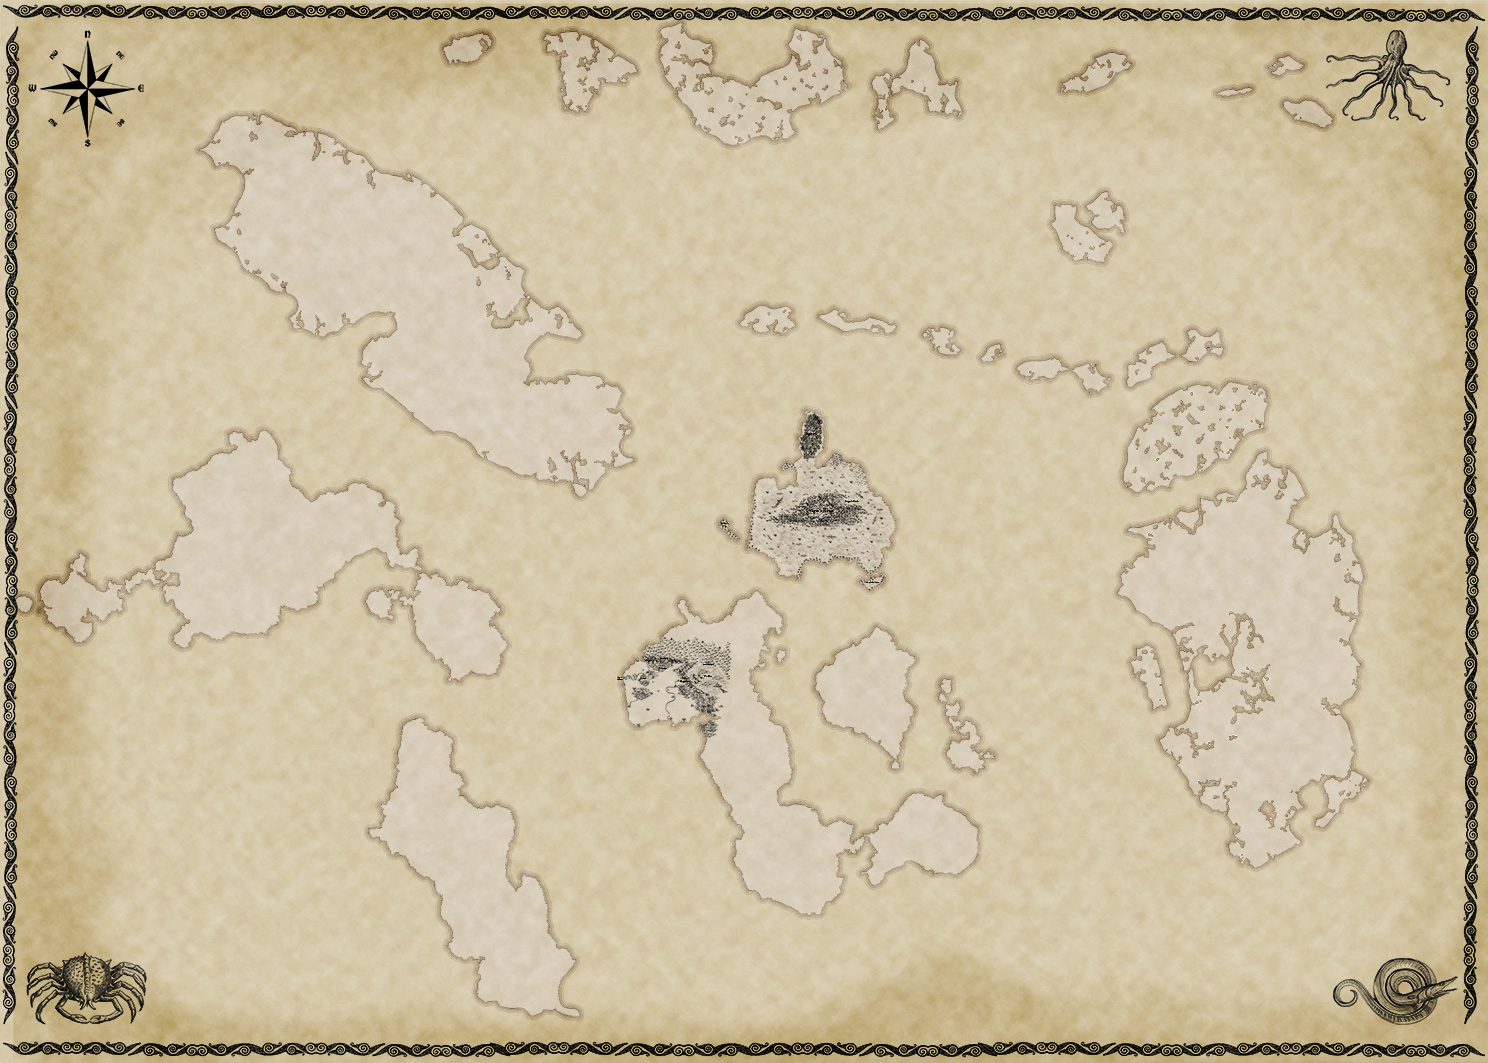
I'm still filling in locations as my players explore the world. There's still a fair way to go for the full map:
The World Map so far, at 10 percent scale
I recommend starting at a grander scale with the most important geographical features and large settlements. The more you can fill in ahead of time the better but sometimes it is just best to go with the flow and fill in ideas your players have on their travels. Fun as I find world and map generators, a world feels more like you and your players own it if you make a map like this while incorporating their ideas.
Tom Out!
P.S. You can read my occasional posts about RPGs I run/play over on my other website.
References
[1] How to Generate Random Terrain Using Photoshop
[2] How to make concentric coastal ripple effects with outer glow in Photoshop